TLWR; Photo Gallery
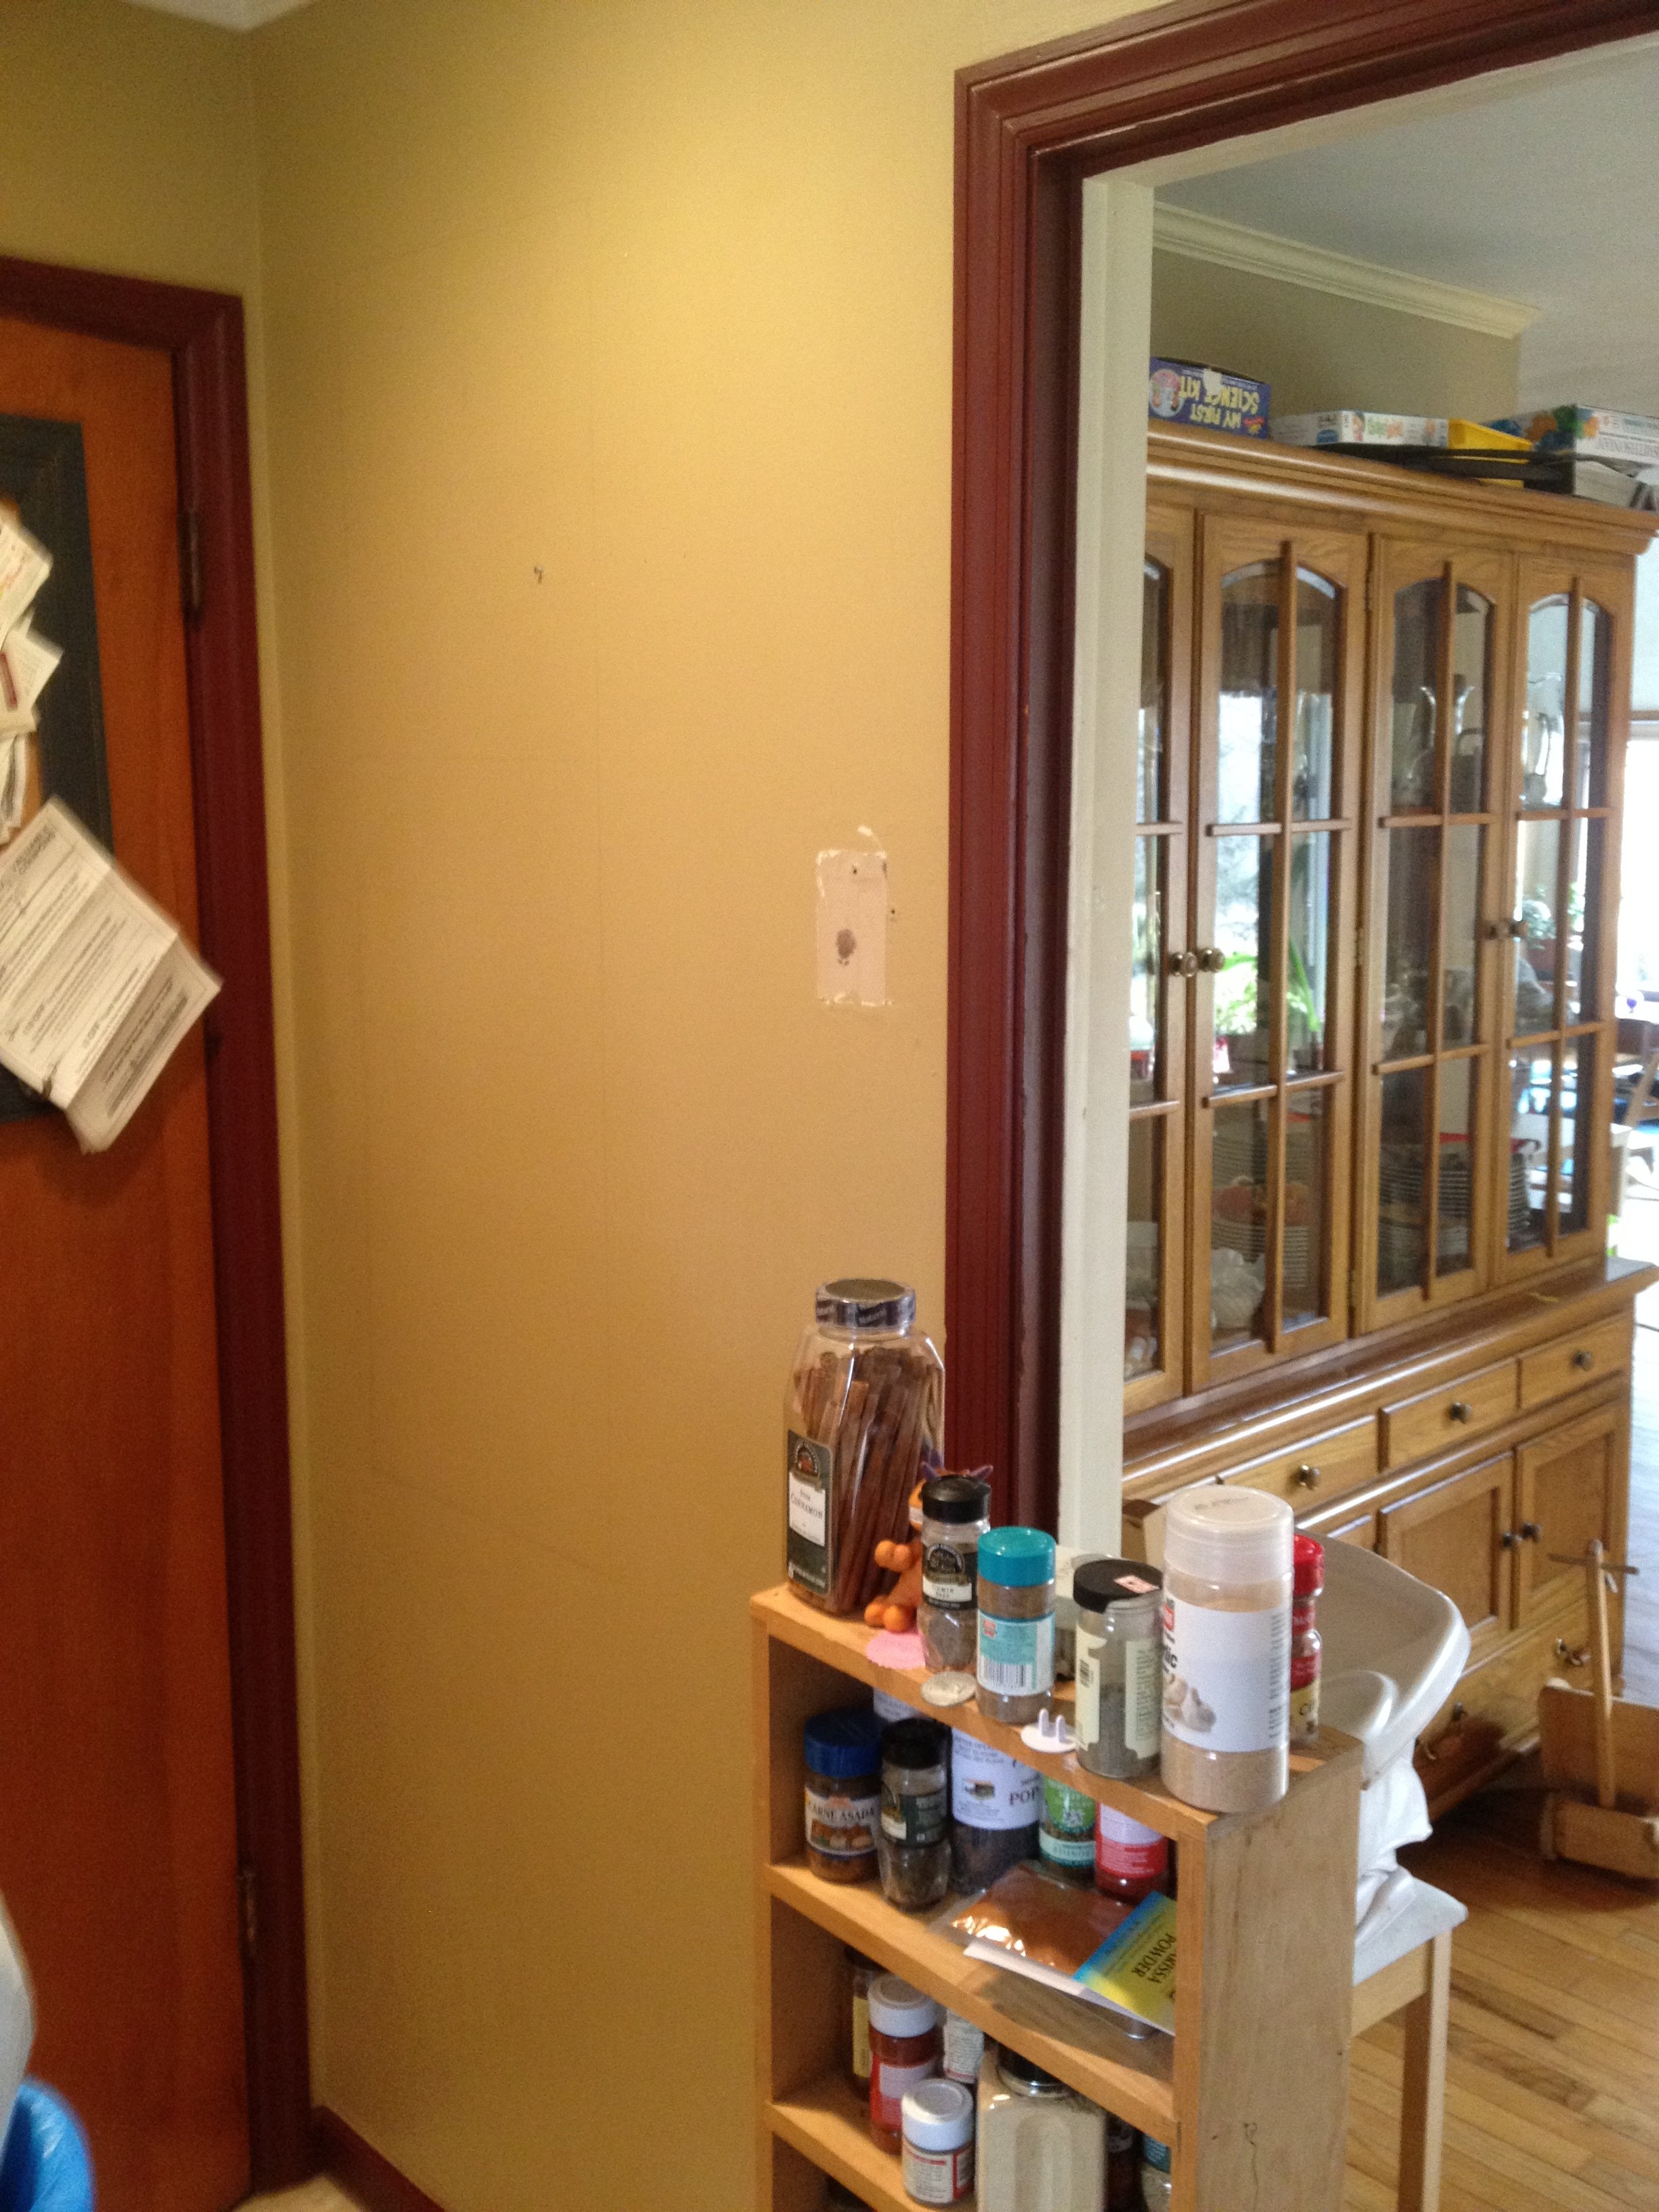 For as long as I can remember we have had a spice storage problem. Lately the spices have been on a simple pine shelf sitting more or less in the way on the floor in arms reach of the 1 year old who couldn’t be happier about the situation. After many months of talking about solving the issue, it was decided to put some unused wall space, behind a door and across from the pantry, to good use.
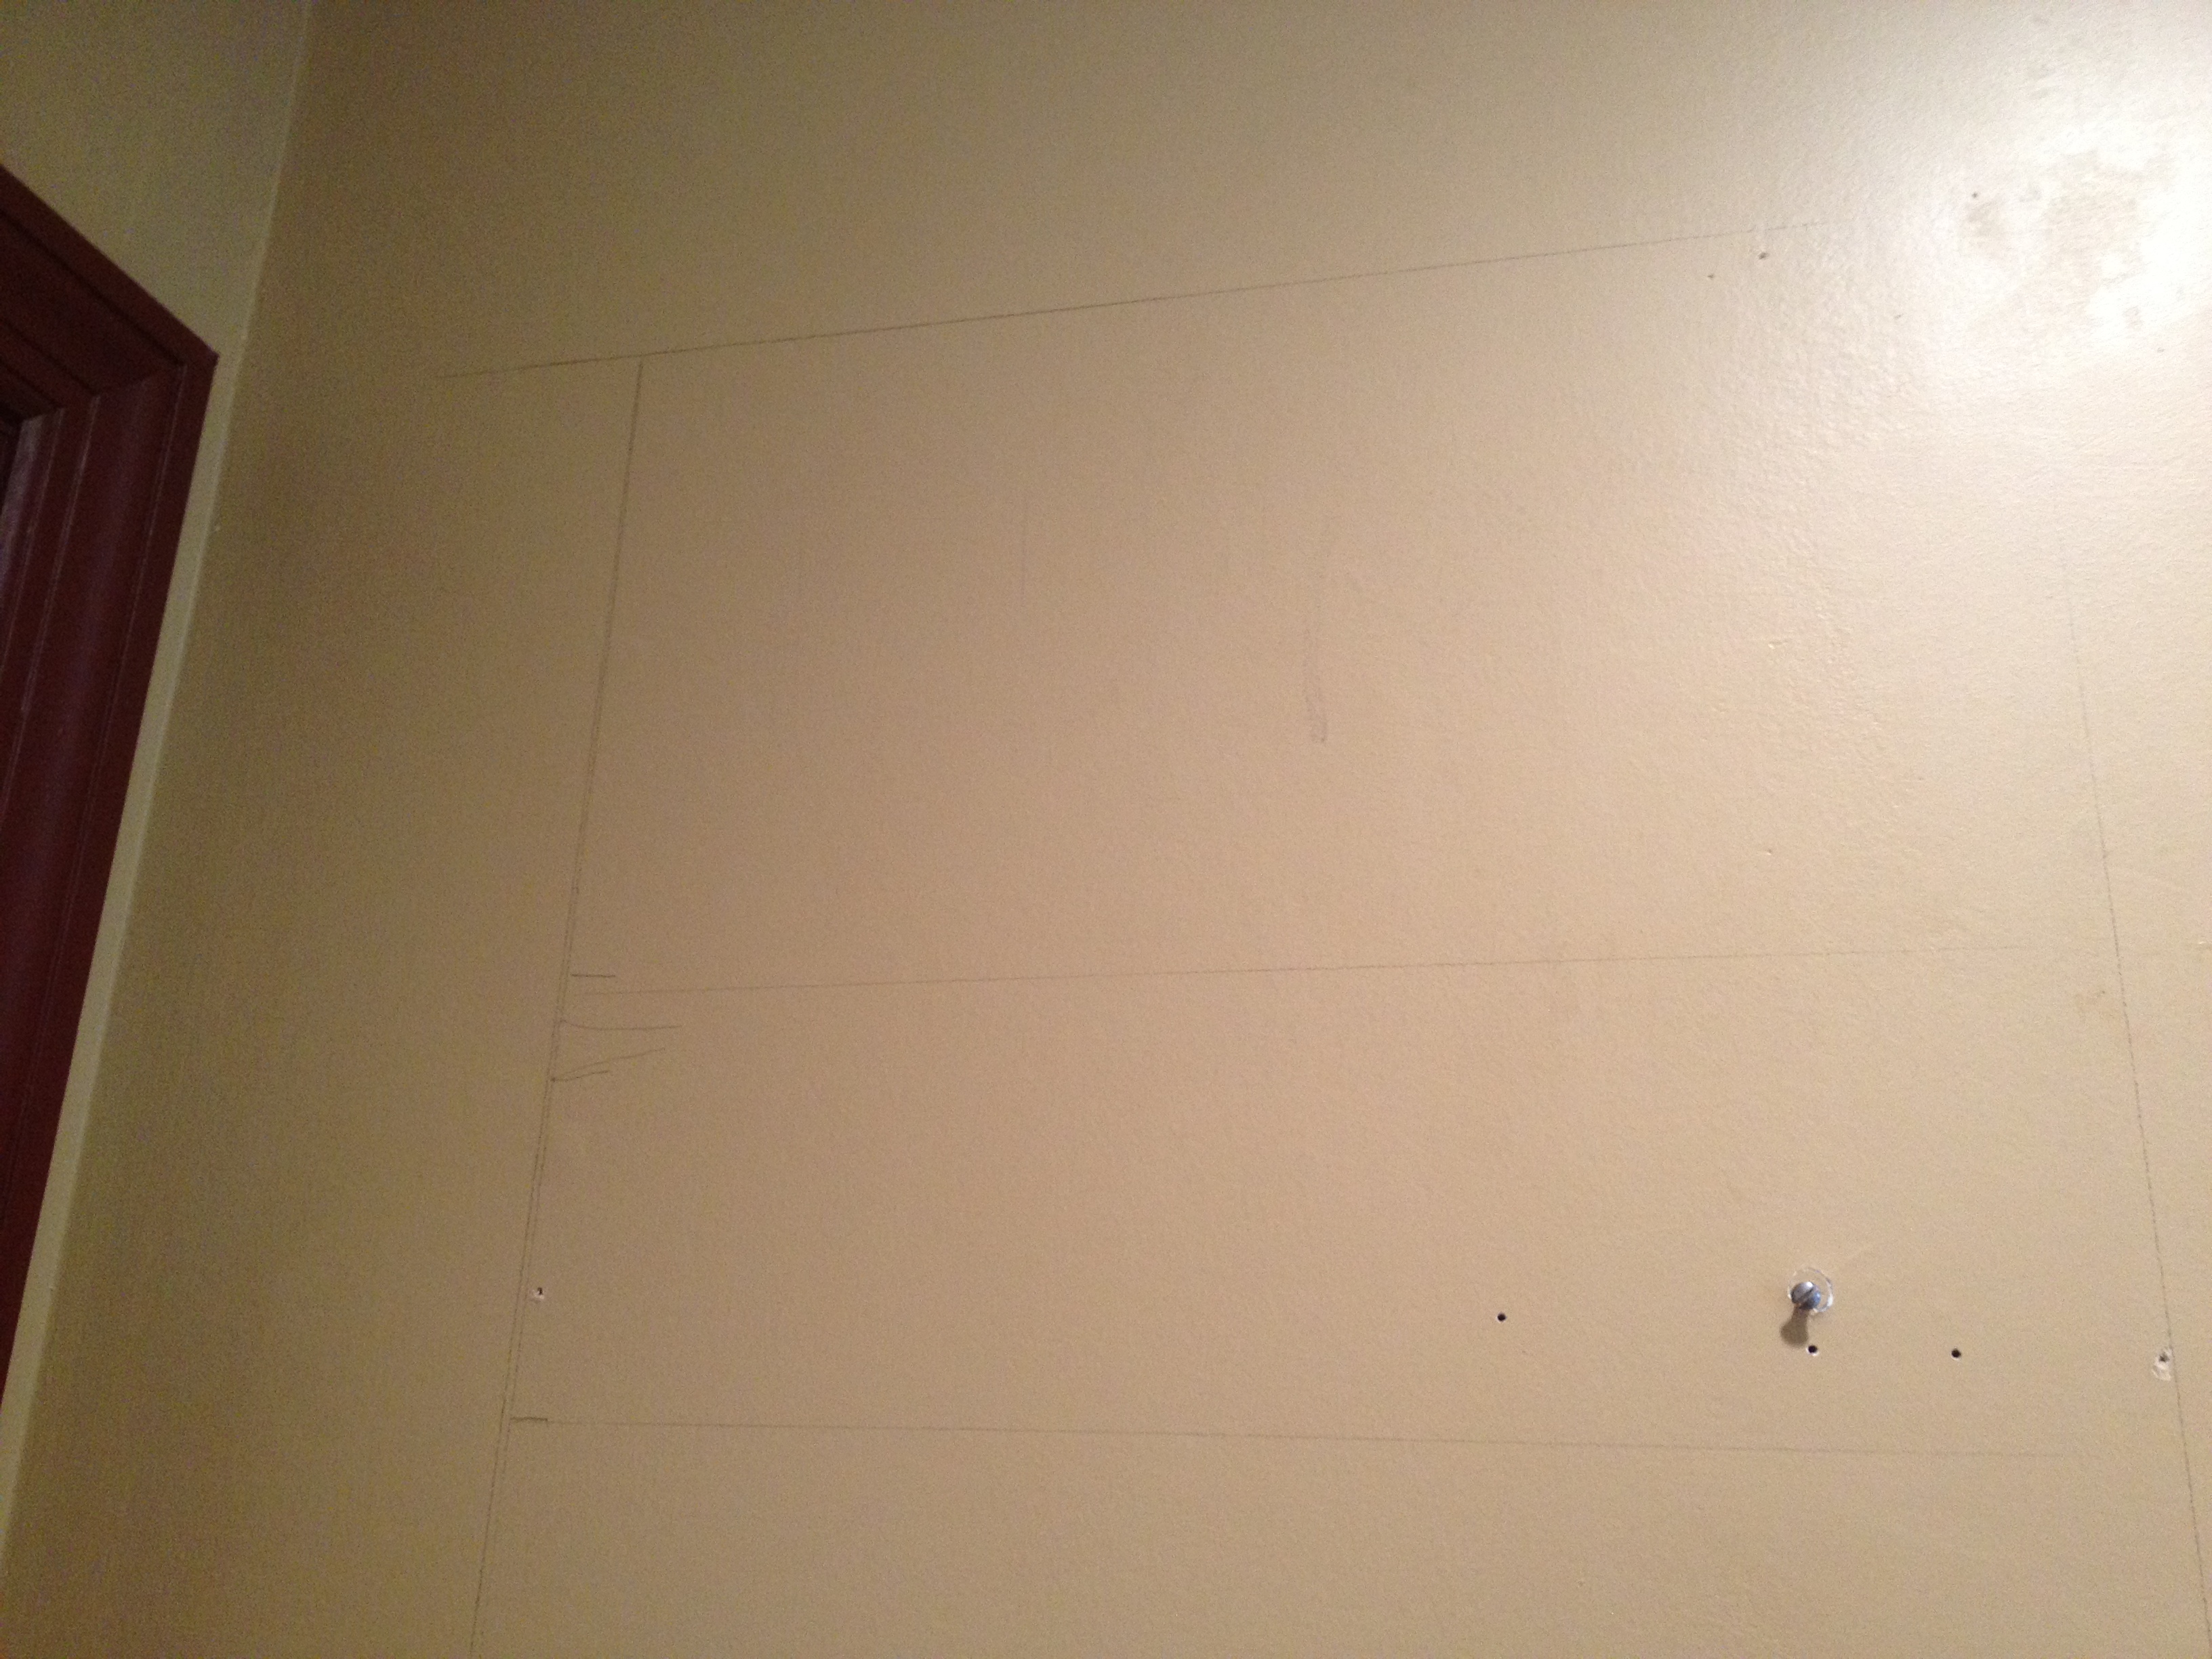
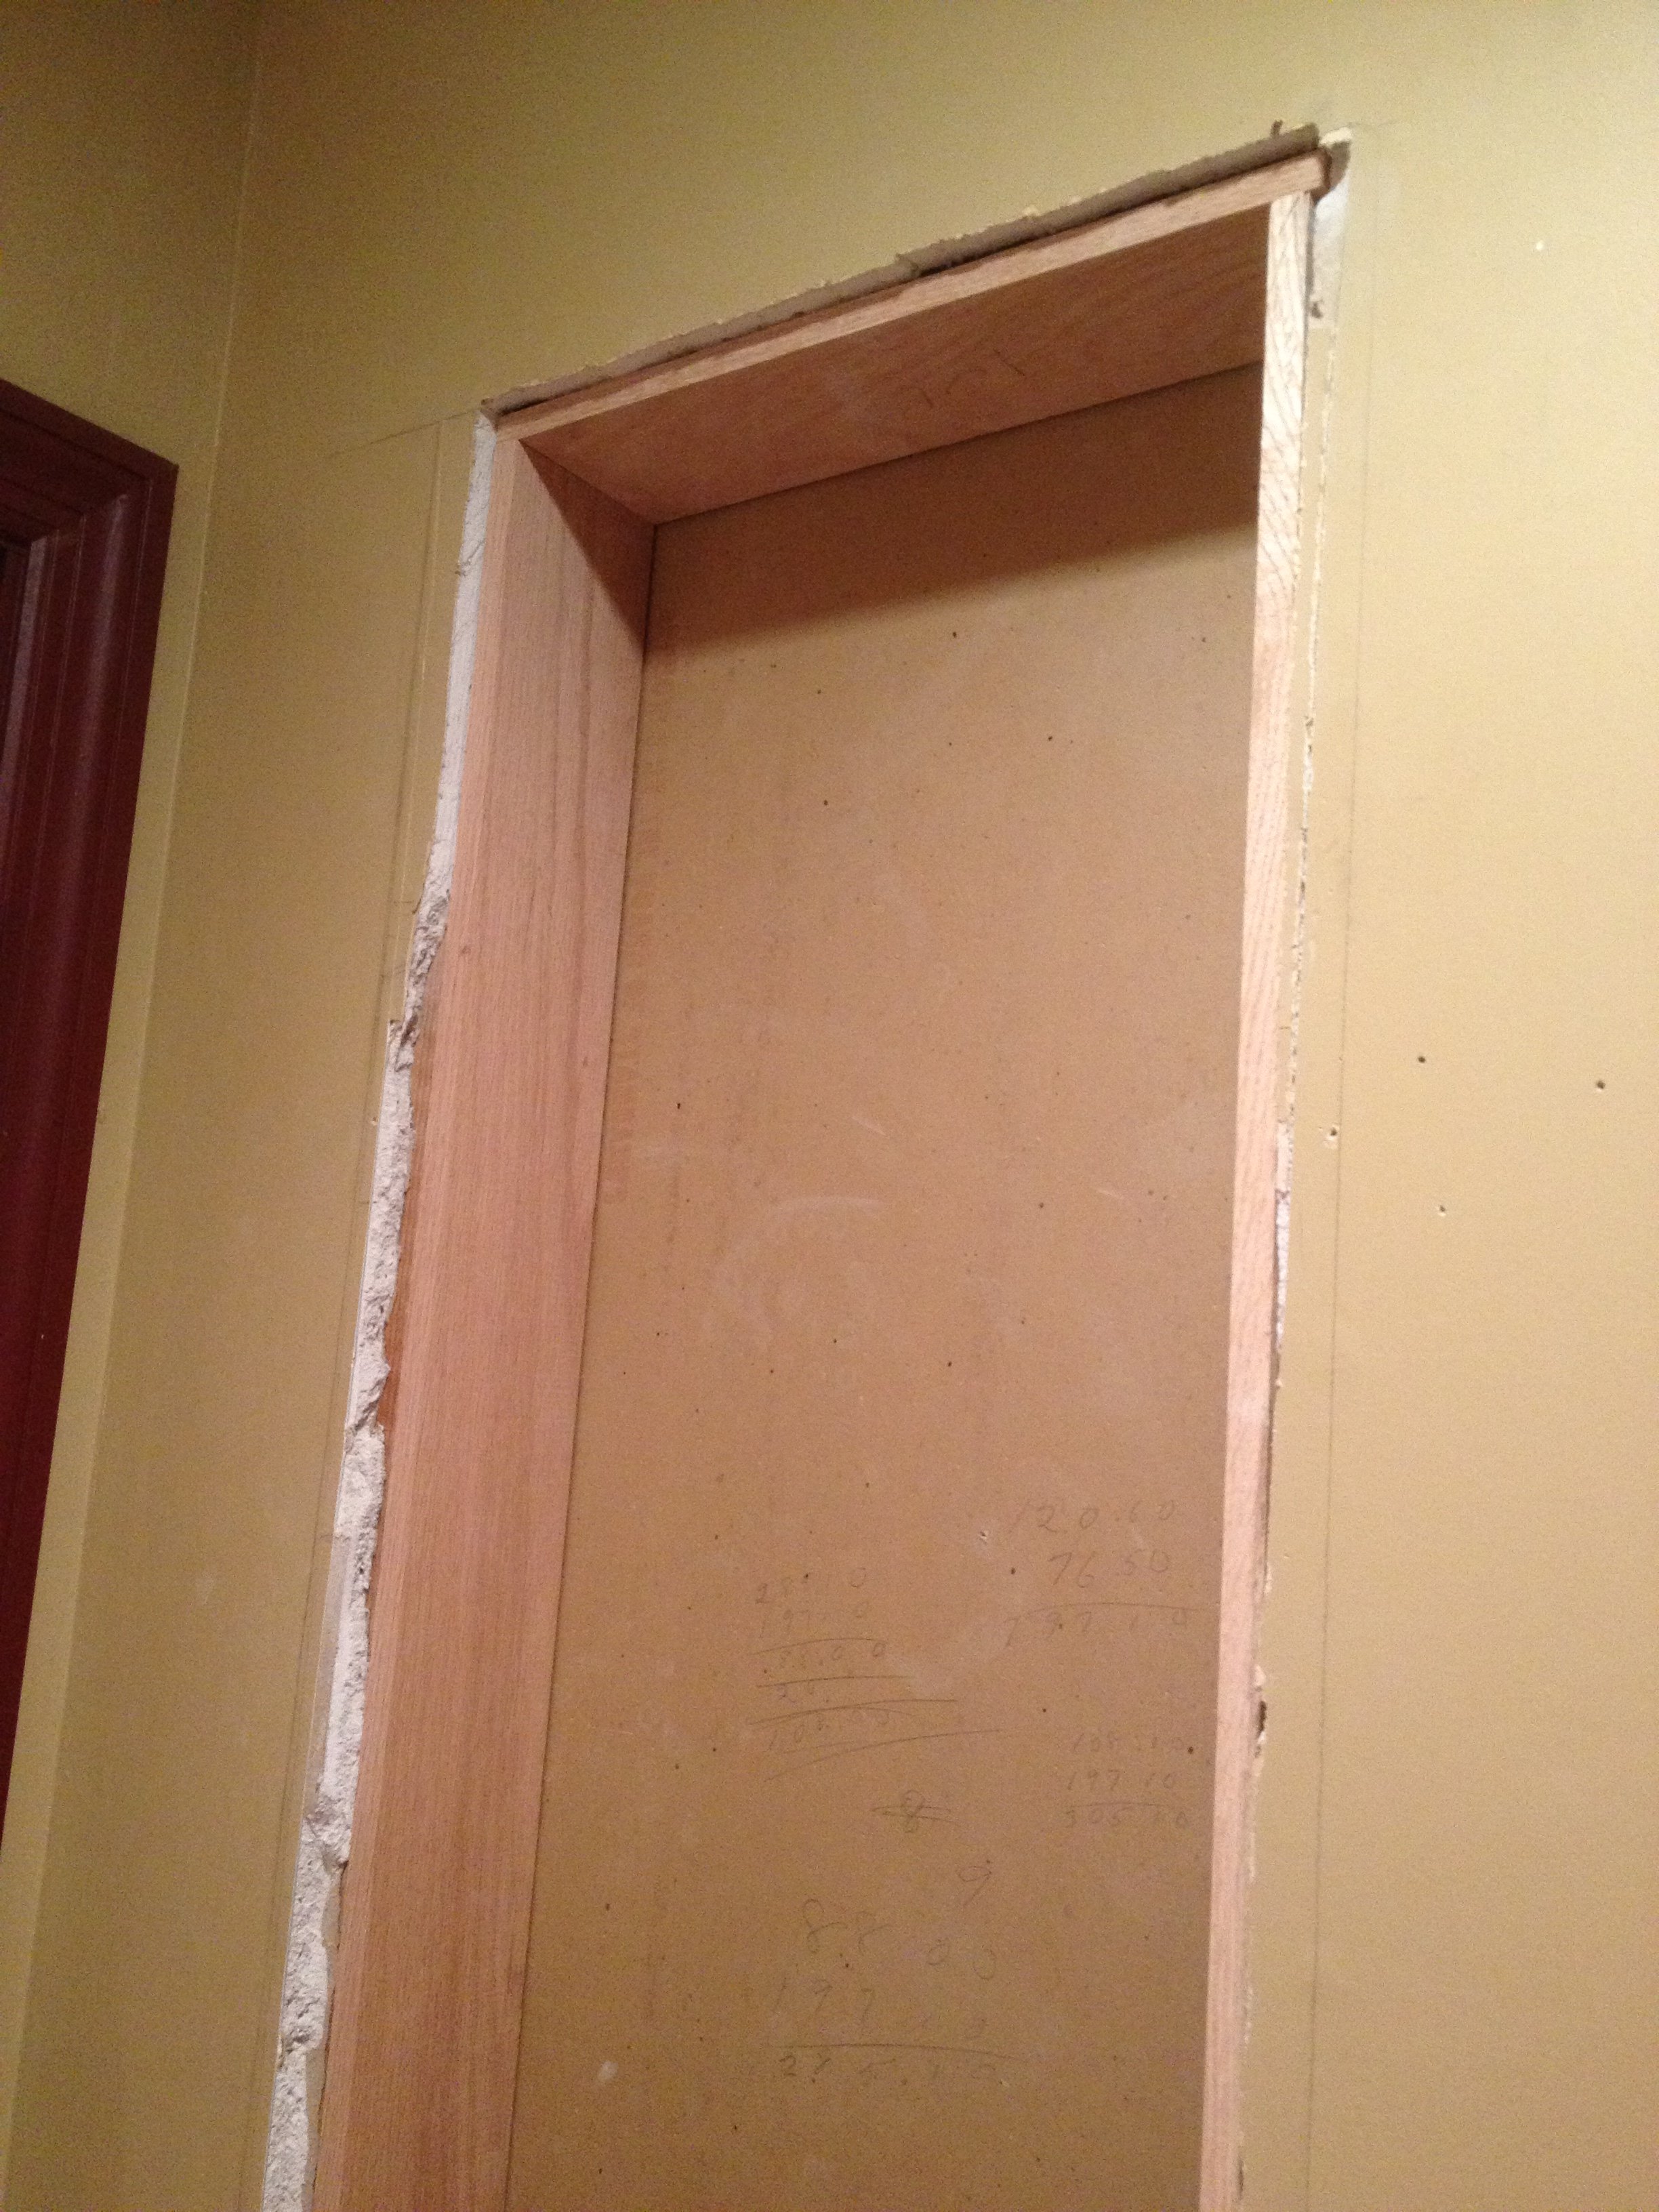
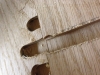
The stud-finder proved useless, so a quick rap of the knuckles located a stud in the center of the space, a quick trip to the basement indicated that there were several sets of wires running up the right cavity while the left cavity was free and clear. A quick sketch on the wall was needed to get sign-off from the boss and a small poorly cut out inspection hole confirmed the lack of wires/pipes. 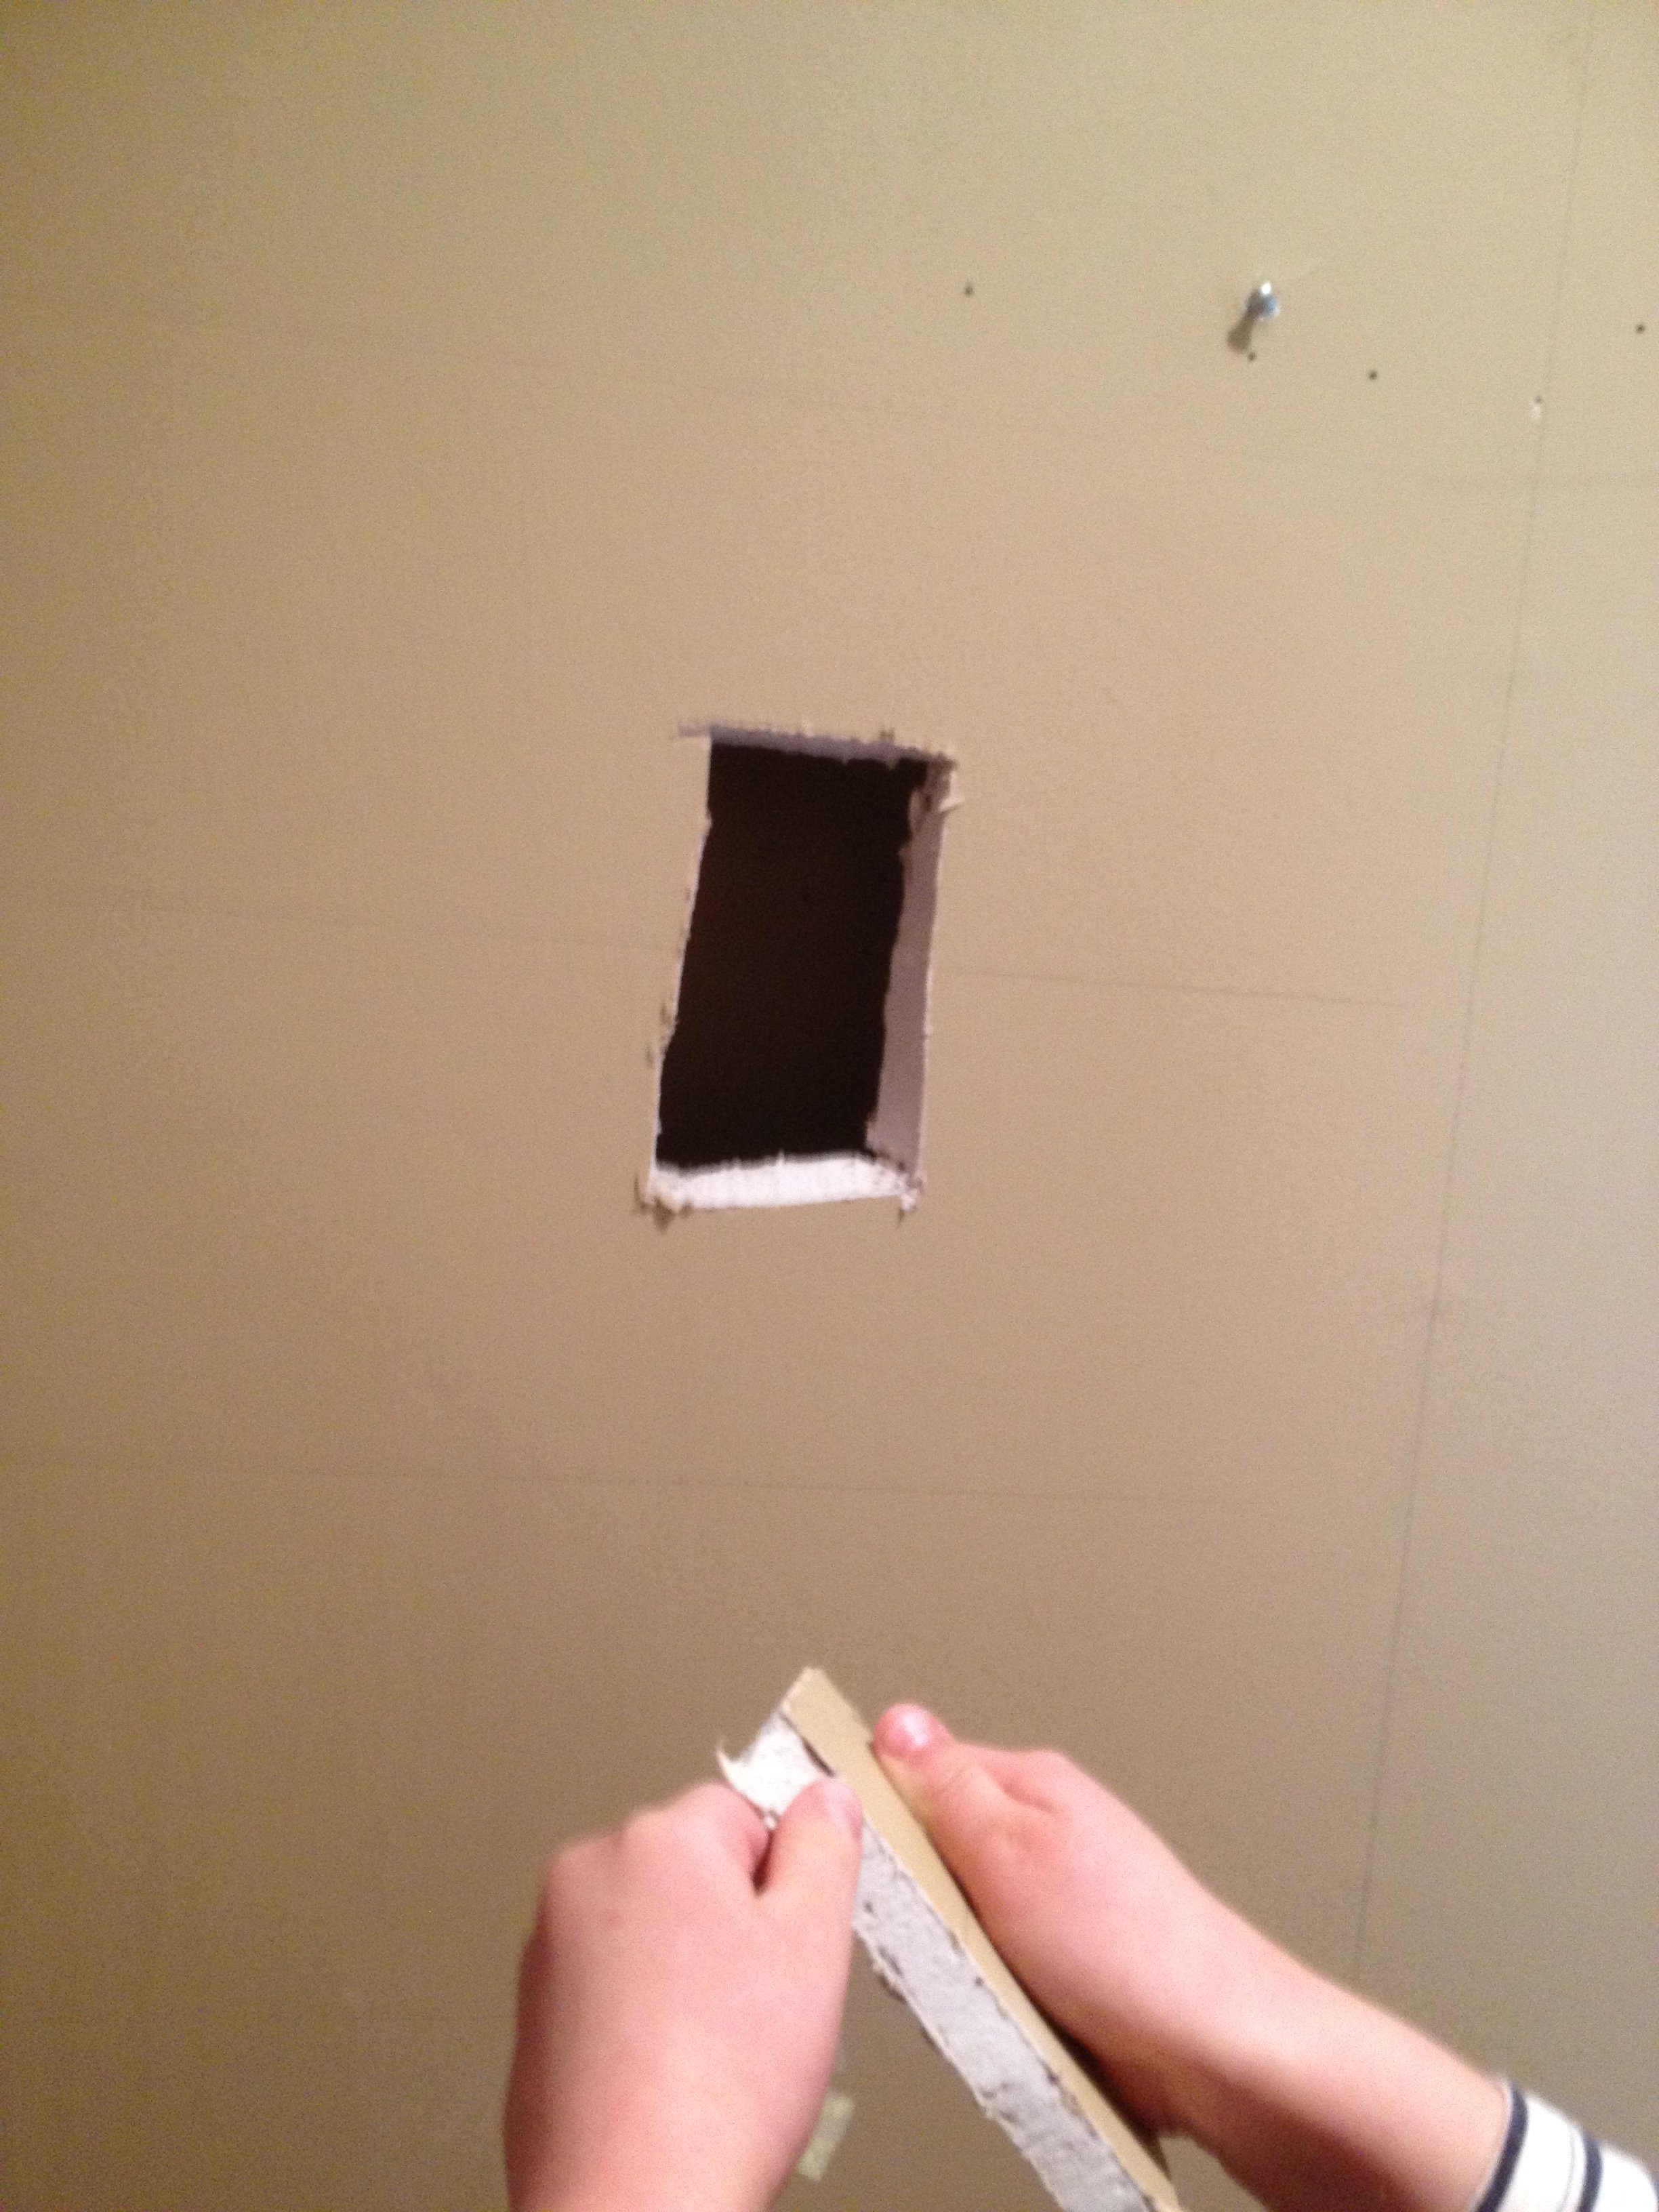 Tip: make the inspection hole cuts on an angle so that the cut-out falls outward not inward, this also makes repair (so the internet says) easier should you find pipes/wiring inside.
 Next step, hack away with the drywall saw, couple of tips which could have been utilized more effectively, score the area with a razor to minimize the chances of “runs” in the paint/drywall and start off making the score/cuts well inside of the studs then come back with more precise cuts along the studs. In the end, not employing those tips, half a stud on the left side is exposed, some paint on the right is chipped. With any luck the moulding will be wide enough to cover these blemishes, fingers crossed.
I thought I was pretty clever with inserting a screw in the 2×4 cross support to help me manipulate/hold it in place.  Until a couple nights later when I tried my first dry fit with the mostly assembled shelves and noticed that while I got the cross support level left to right I completely ignored front/back and the support ended up with a forward lean, I guess that is why they make shims.
With the size of the shelf basically determined next step was off to the big box store for some hardwood. Initially I wanted maple but they didn’t have enough straight pieces so I ended up grabbing some oak boards:
- 3 1/4″x4″x4′
- 4 1/4″x4″x2′
- 1″ fine thread pocket screws
- 2 6′ strips of 3/4″ oak moulding
- 1 2’x4′ oak faced plywood panel
I chose the shorter 4′ pieces rather than the 6 and 8′ pieces as there isn’t much of a price difference, and the longer a piece the larger the twists. The sides were cut to 47 3/4″ and the top/bottom to 14 1/8″ using the radial arm saw, a stop was supposed to ensure that each of the parallel pieces were of the same length. Unfortunately, as you can see here, I inexplicably screwed up the use of the stop block as I had the waste positioned between the blade and the stop, effectively ensuring that the waste from each piece was of uniform width.  Not even stopping to take this photo allowed me to see the mistake ahead of time. To be fair the cut-off pieces were pretty small which meant that using the stop properly would have put my fingers dangerously close to the blade. Apparently this was my sub-conscious’ way of helping me out. Once I discovered my error, after cutting both pieces, I stacked the two pieces, lined up the ends on one side and trimmed off about an 1/4″ on the opposite side to even them out. So now my shelf is only 13 7/8″ wide.
 After dry fitting the frame in the wall cavity, to confirm a good fit, the next step is to cut the dado’s for the shelves. Over the past months I have watched a few videos and read some articles but this would be my first attempt at dados. Per my research I lined up the two sides and clamped them in place, apparently the easiest way to ensure that the dados are aligned for level shelves.
 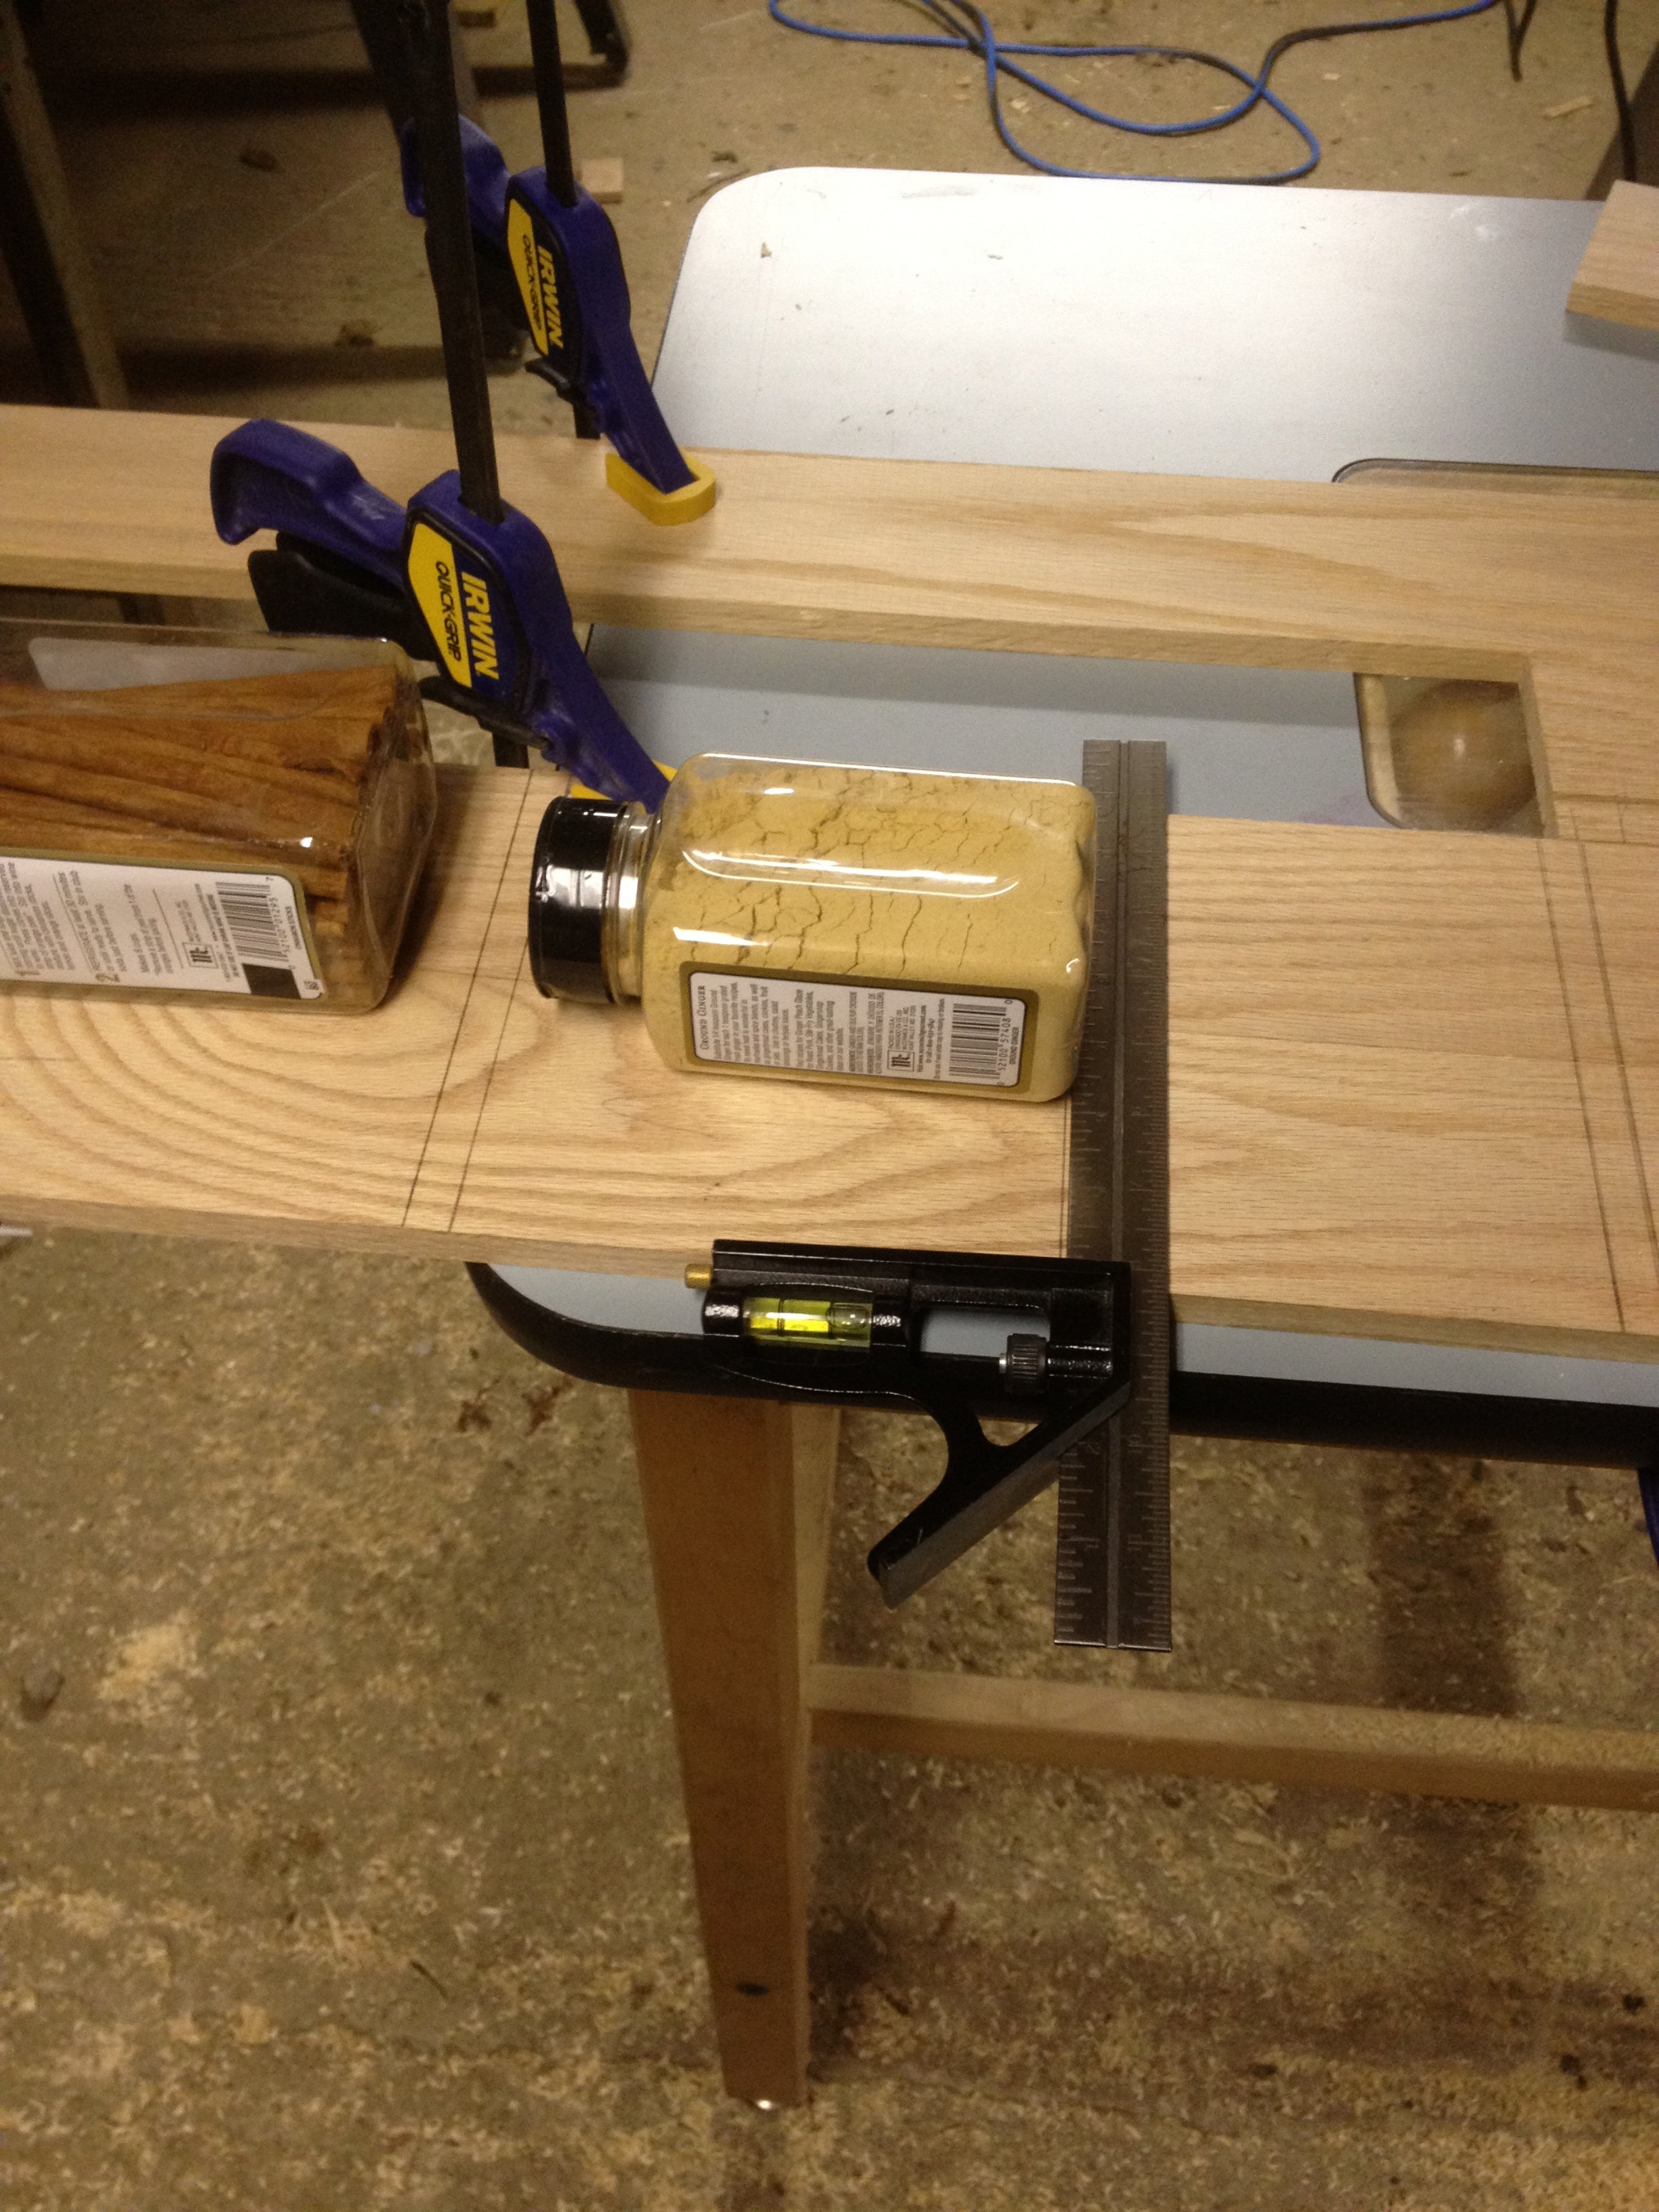 Then using 3 different spice jars from the house I laid out the top of each shelf, I was able to get, including the bottom shelf, 7 shelves 4 of about 5″, 2 that fit the largest jars and one in the middle. The boards are 1/2″ and as luck would have it I have a 1/2″ straight bit which makes things pretty simple as I only have to take one pass across the boards. Tear out was a concern so I used the 3rd 4′ piece of oak and a cut-off scrap to provide a support on the back edge of the sides, as you can see in this photo.
 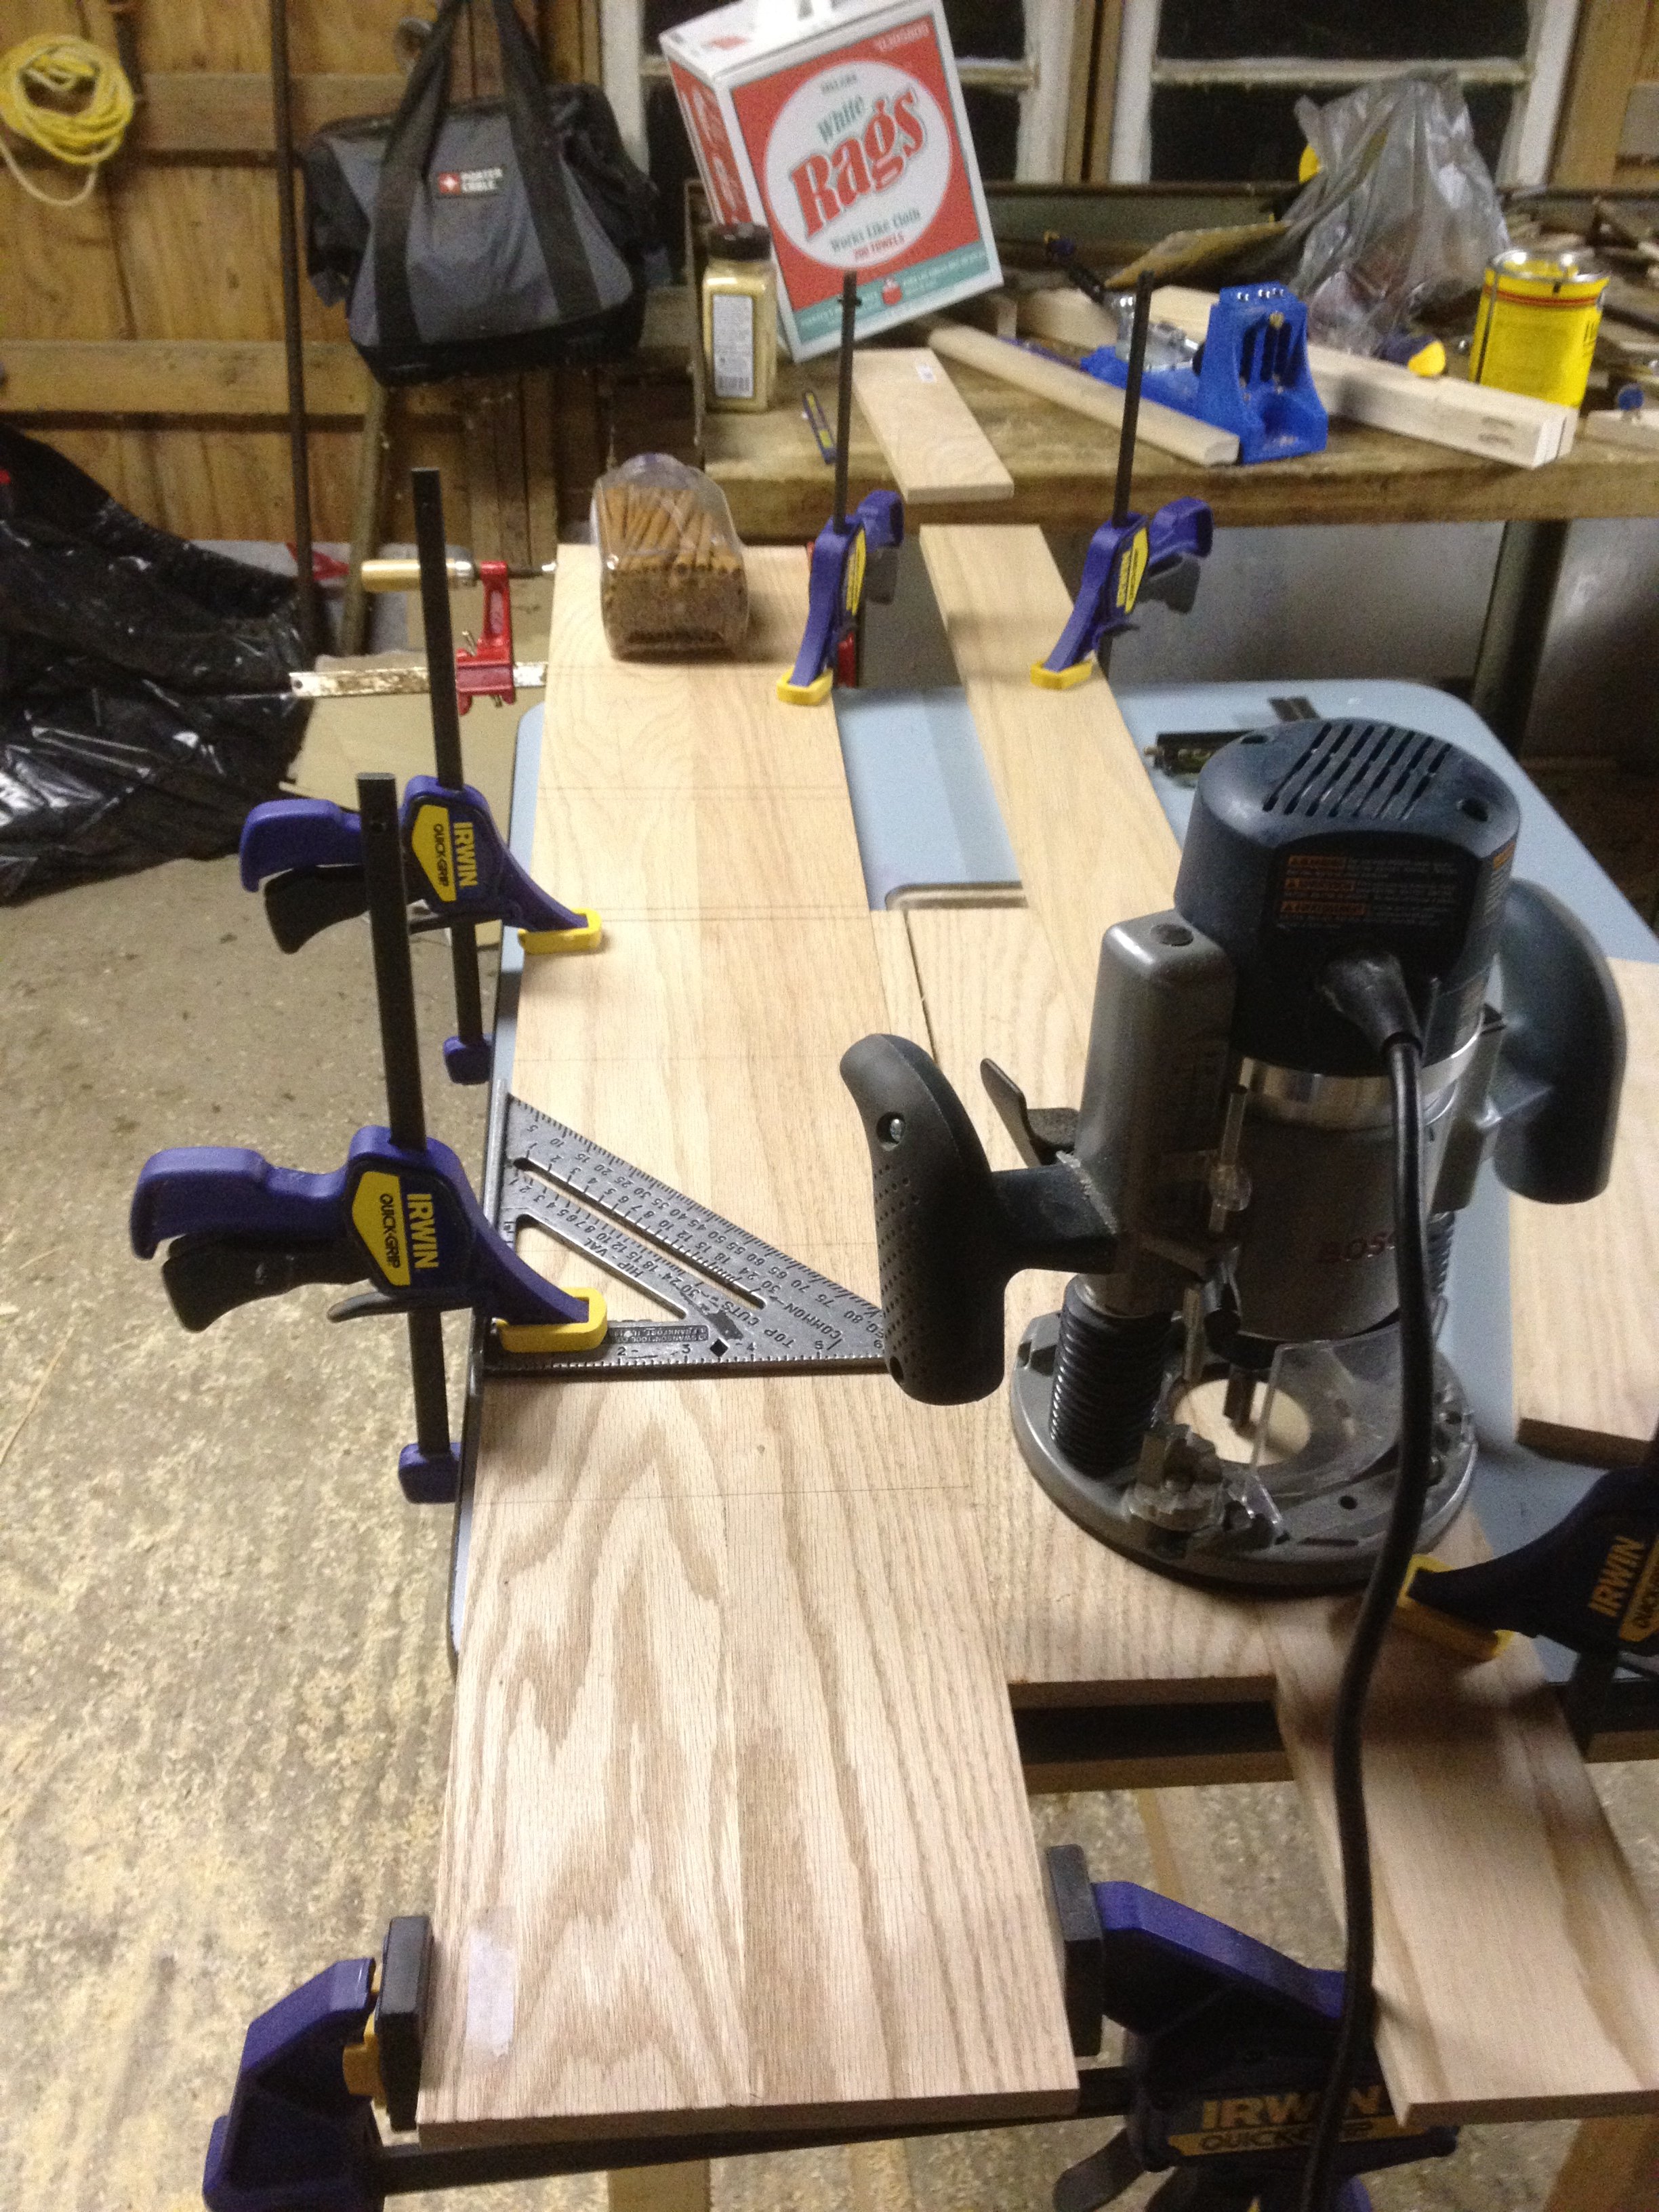 A speed square made for a nice straight-edge guide. Set the plunge router up to make a 1/4″ deep dado in two 1/8″ passes. Unfortunately for the first pass I used only 1 clamp (as you can also see in photo) to secure the square allowing the square to shift as I routed across the boards. I didn’t notice until I was completely through the first cut. For the second pass an additional clamp was added and it worked perfectly as you can see in this series of photos. I figure I can hide, or at least minimize visibility by orienting the unit properly in the wall.


 There was yet another mistake to be made cutting the dados. This photo shows what happens when you get sloppy and try to bring the router out of the cut before shutting off the motor and/or releasing the plunge.
 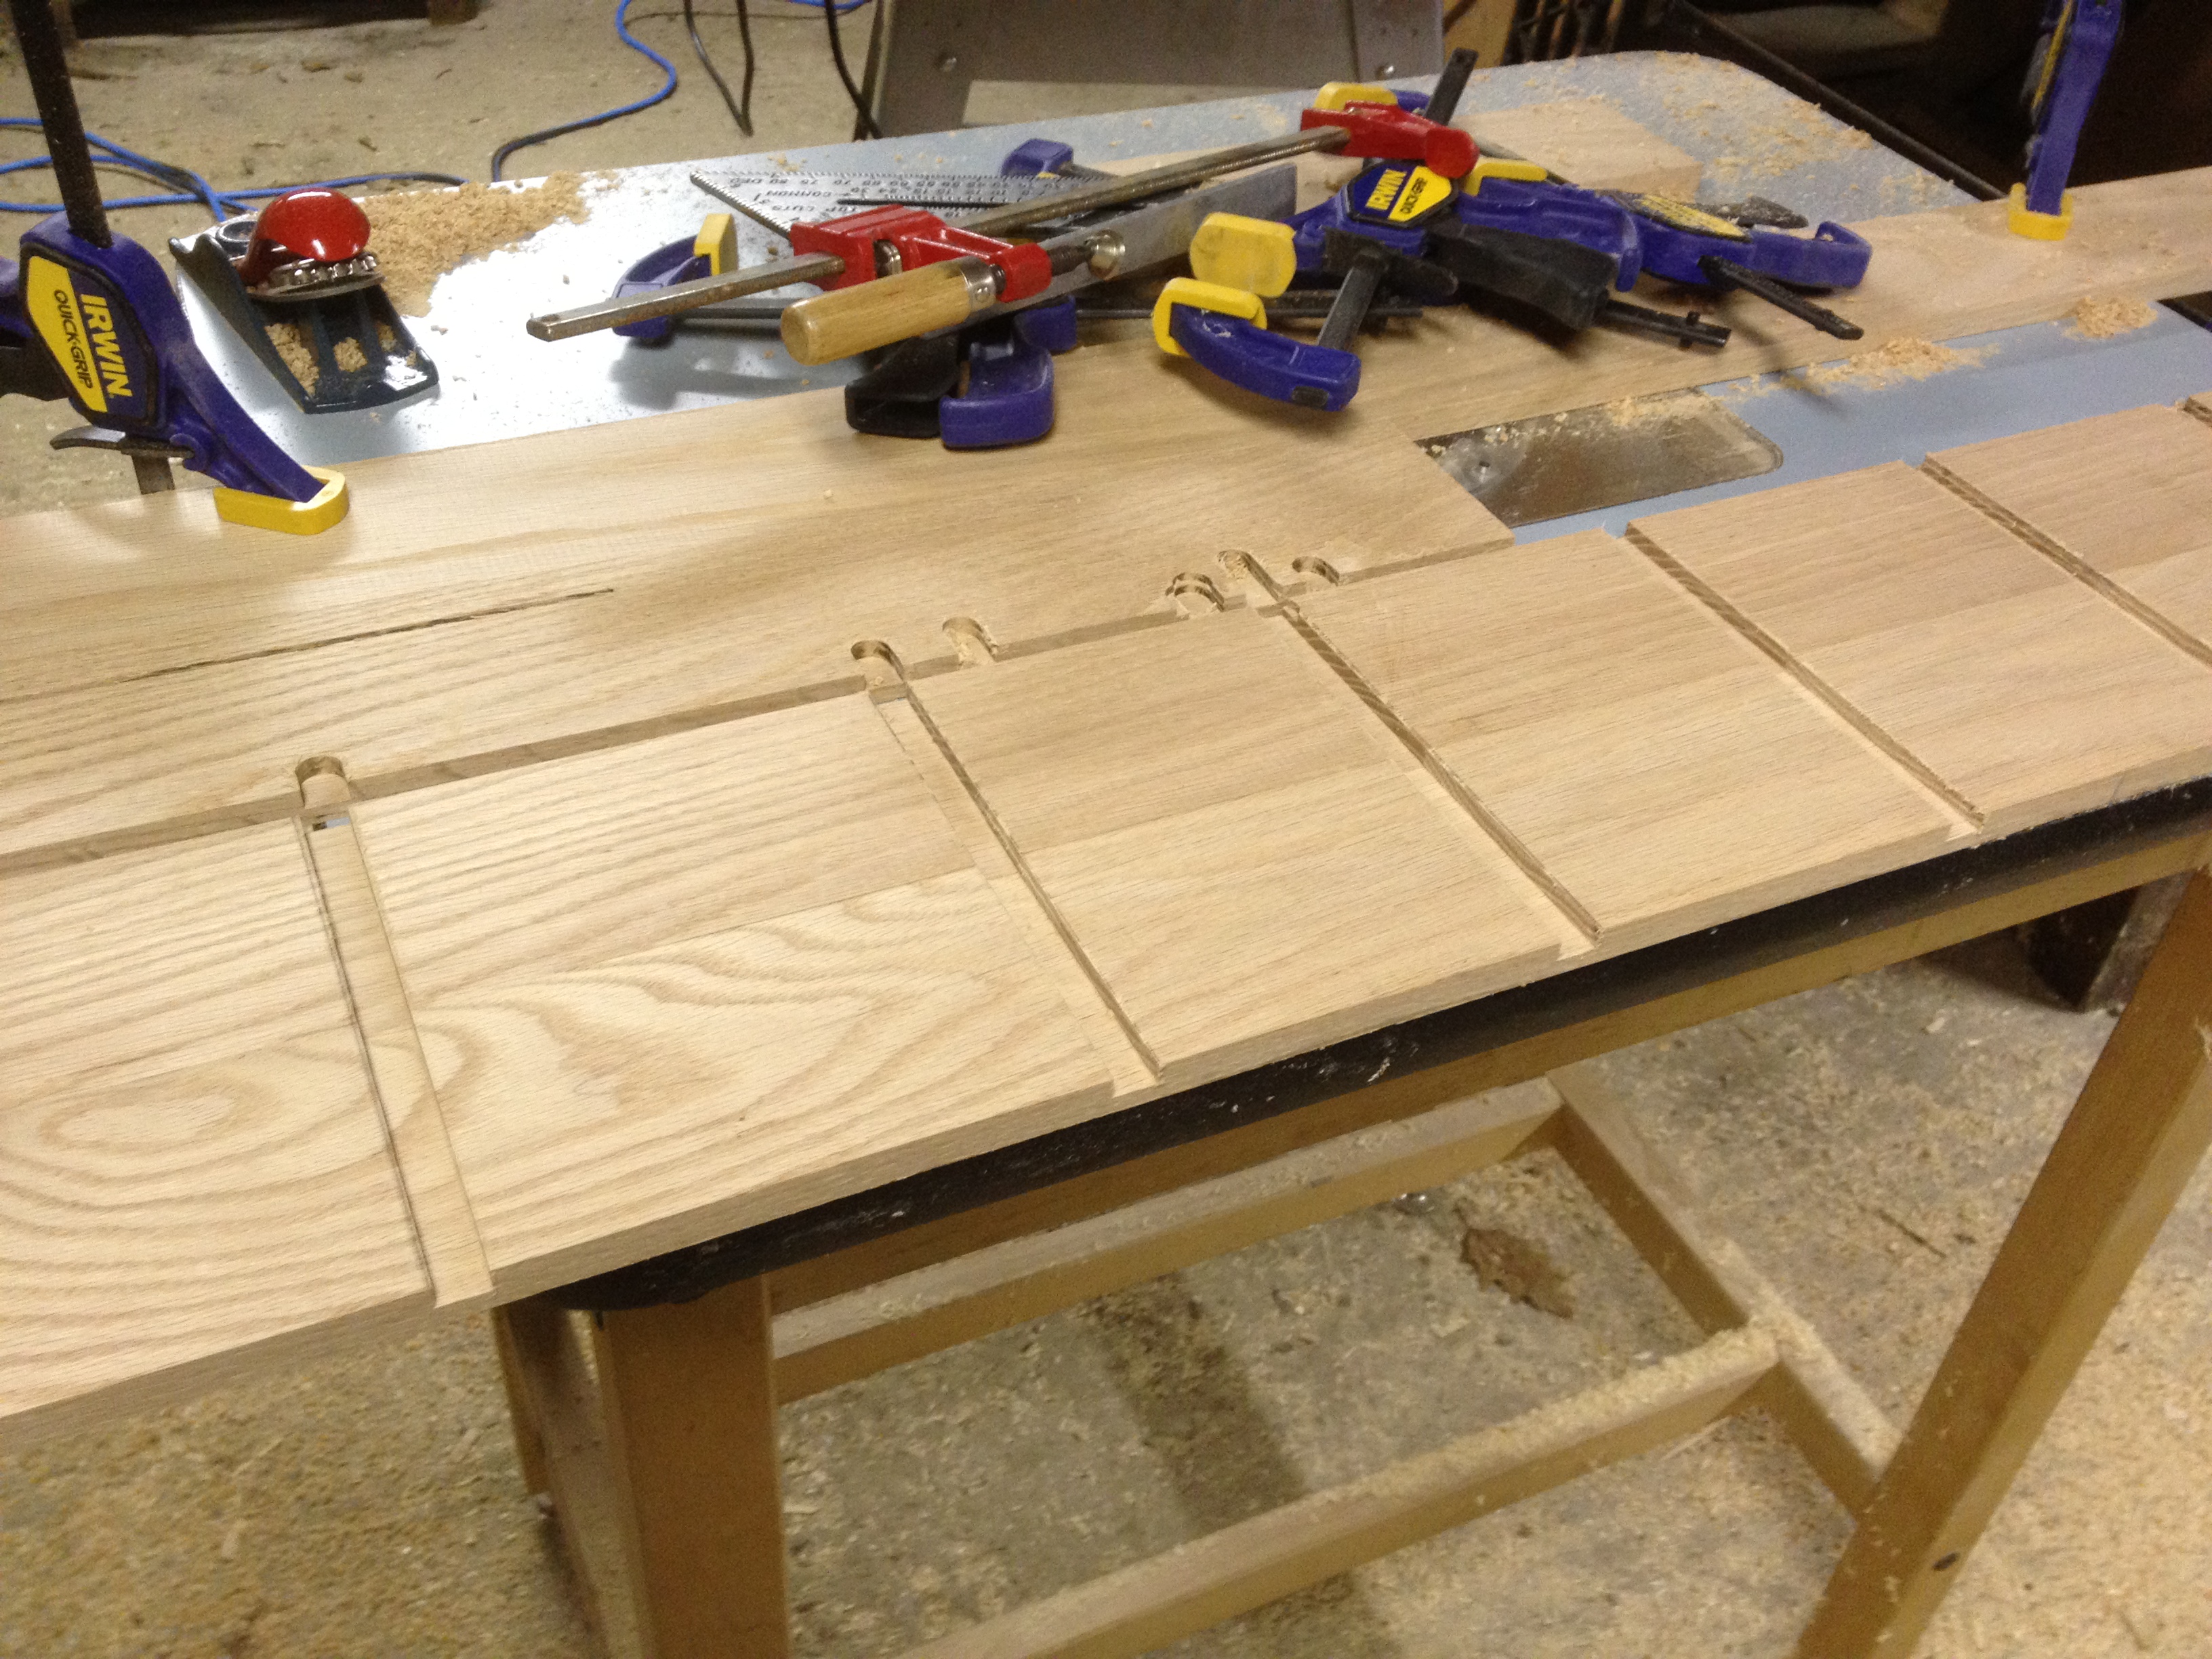 After all was said and done I am pretty happy with the results, some embarrassing screw-ups but nothing ruined, yet. And look at that the top and bottom shelves ended up being pretty symmetrical.
Now that the dadoes are done I can measure and cut the shelves, this time I used the stop block properly, and dry fit them in the within the frame. The fit was pretty tight, as one would hope/expect. 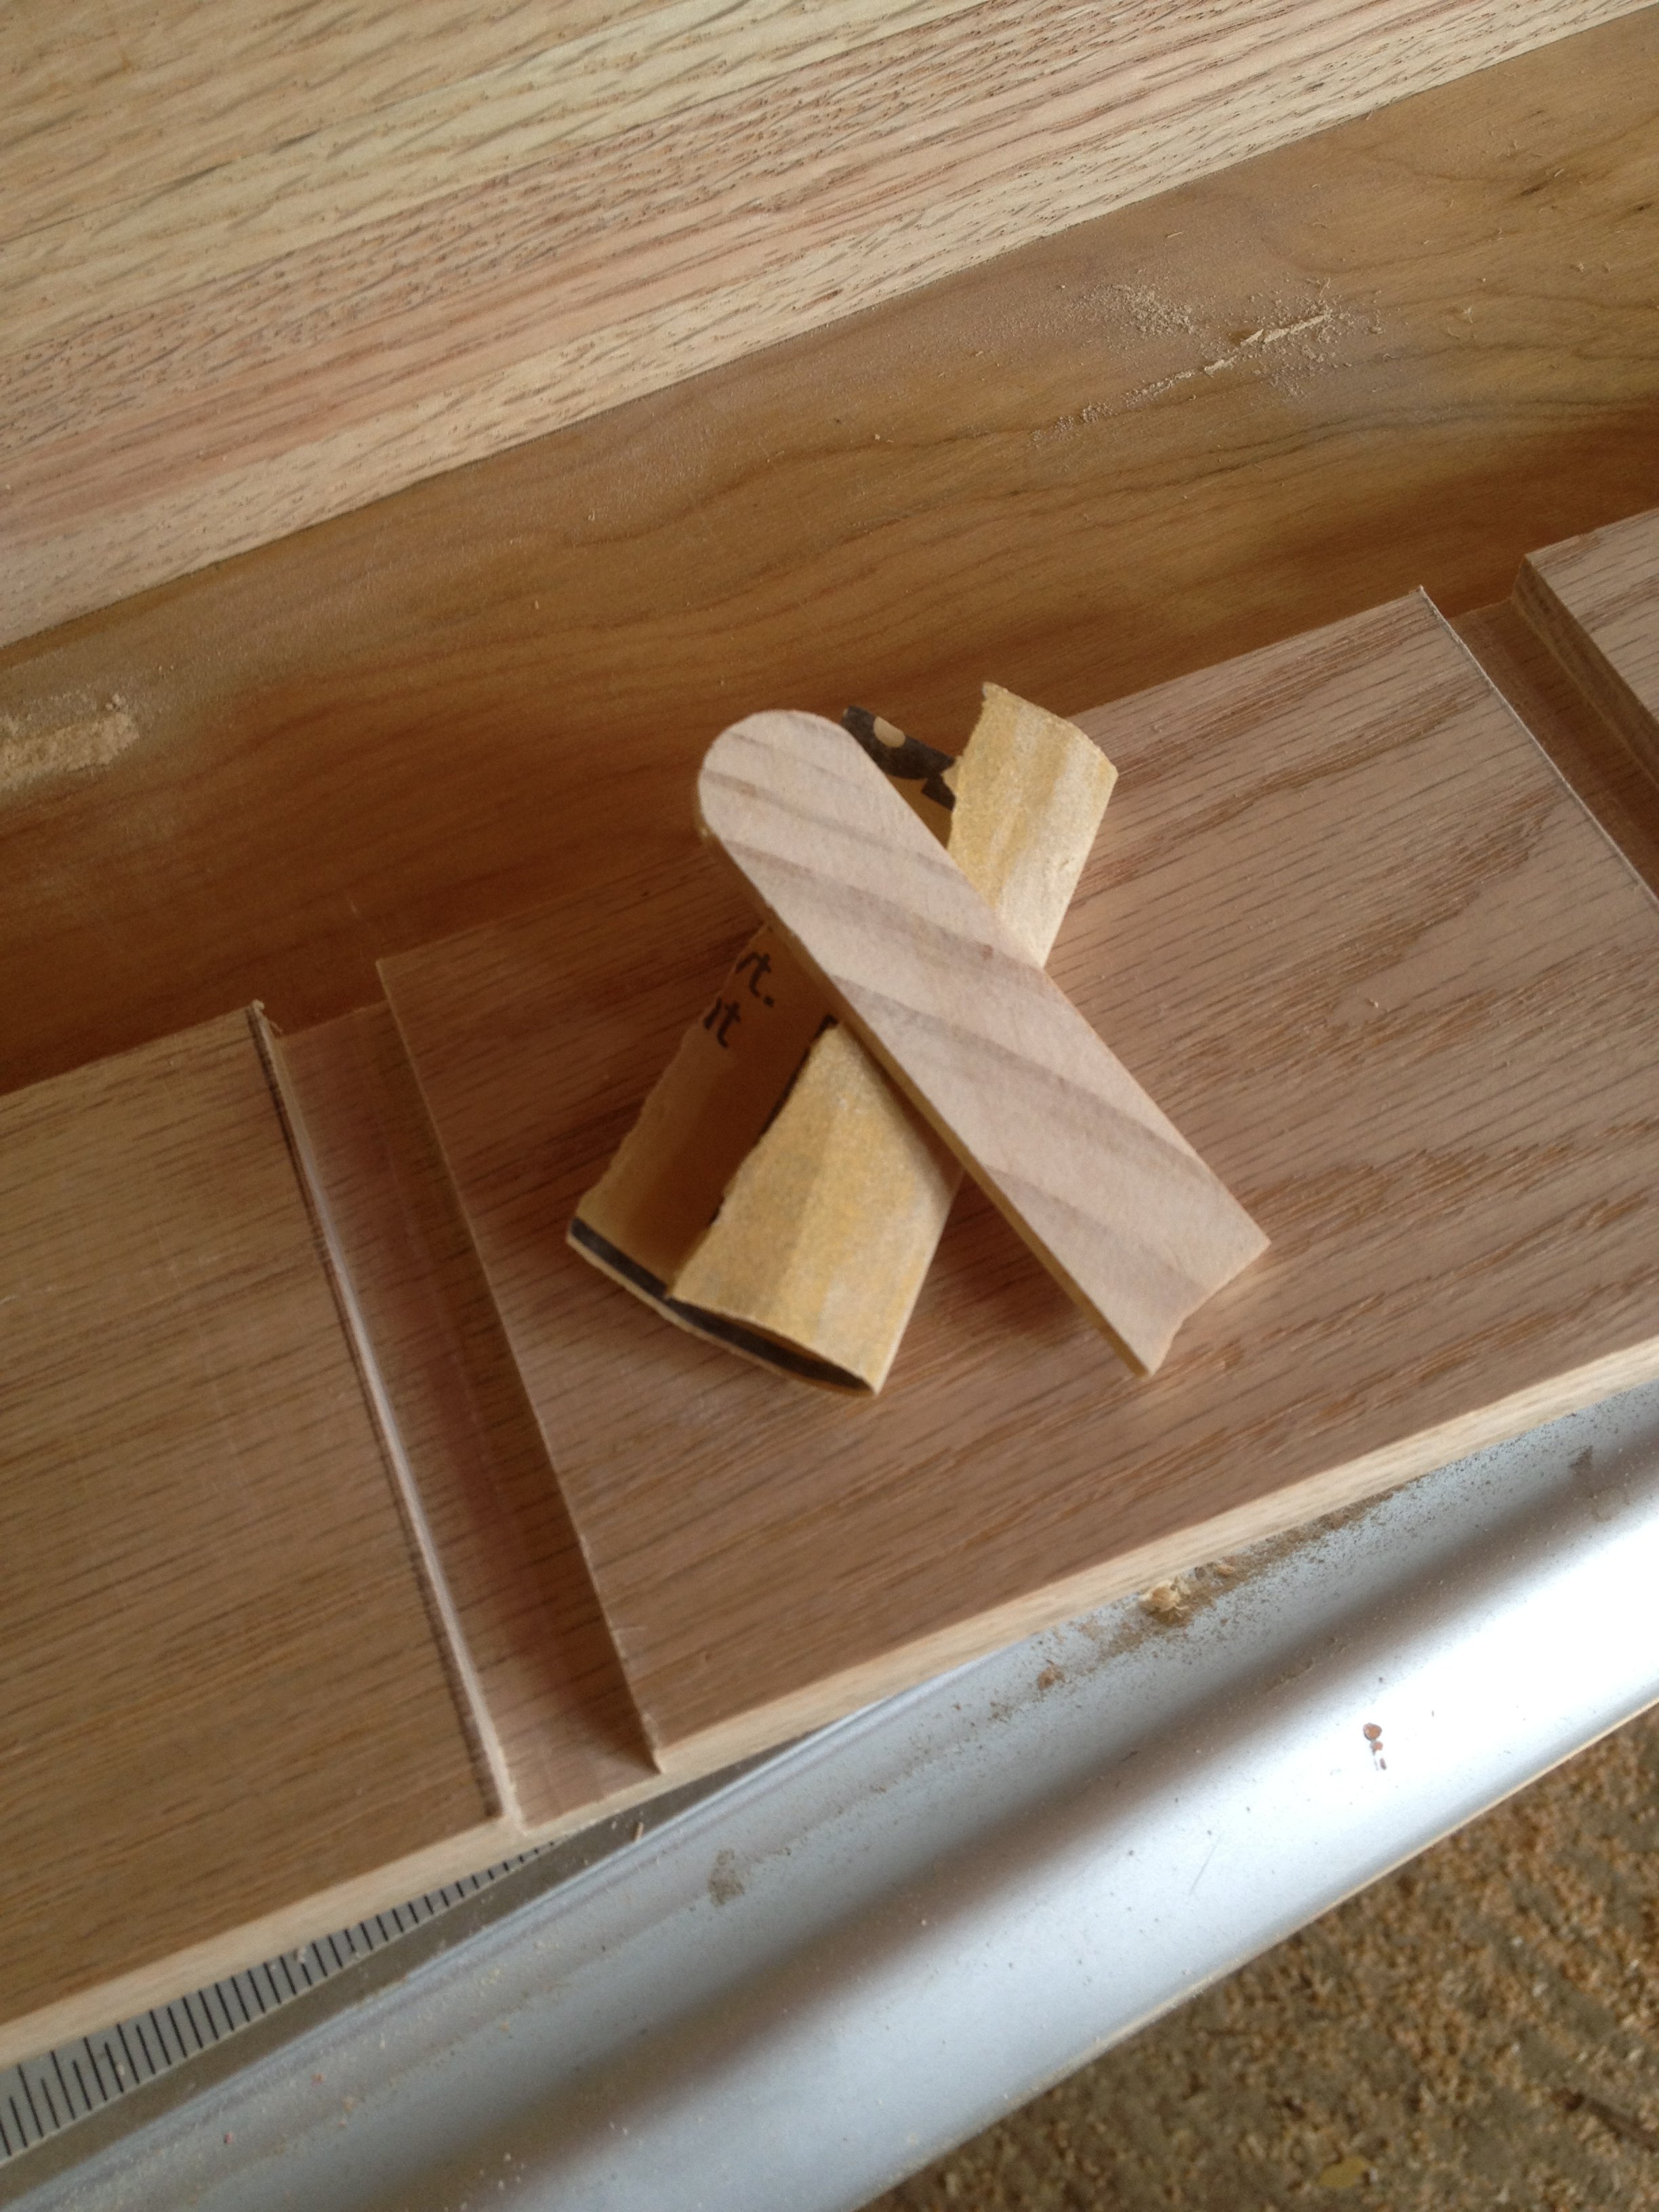 To make a little wiggle room I wrapped a piece of 180 grit sand paper around a small 1/8″ cut-off left on the floor from a previous project. A few passes on each side of all the dadoes allowed the shelves to fit in a little easier, although I still had to hammer a couple of them home placing a piece of scrap across the edge to protect the shelf.
 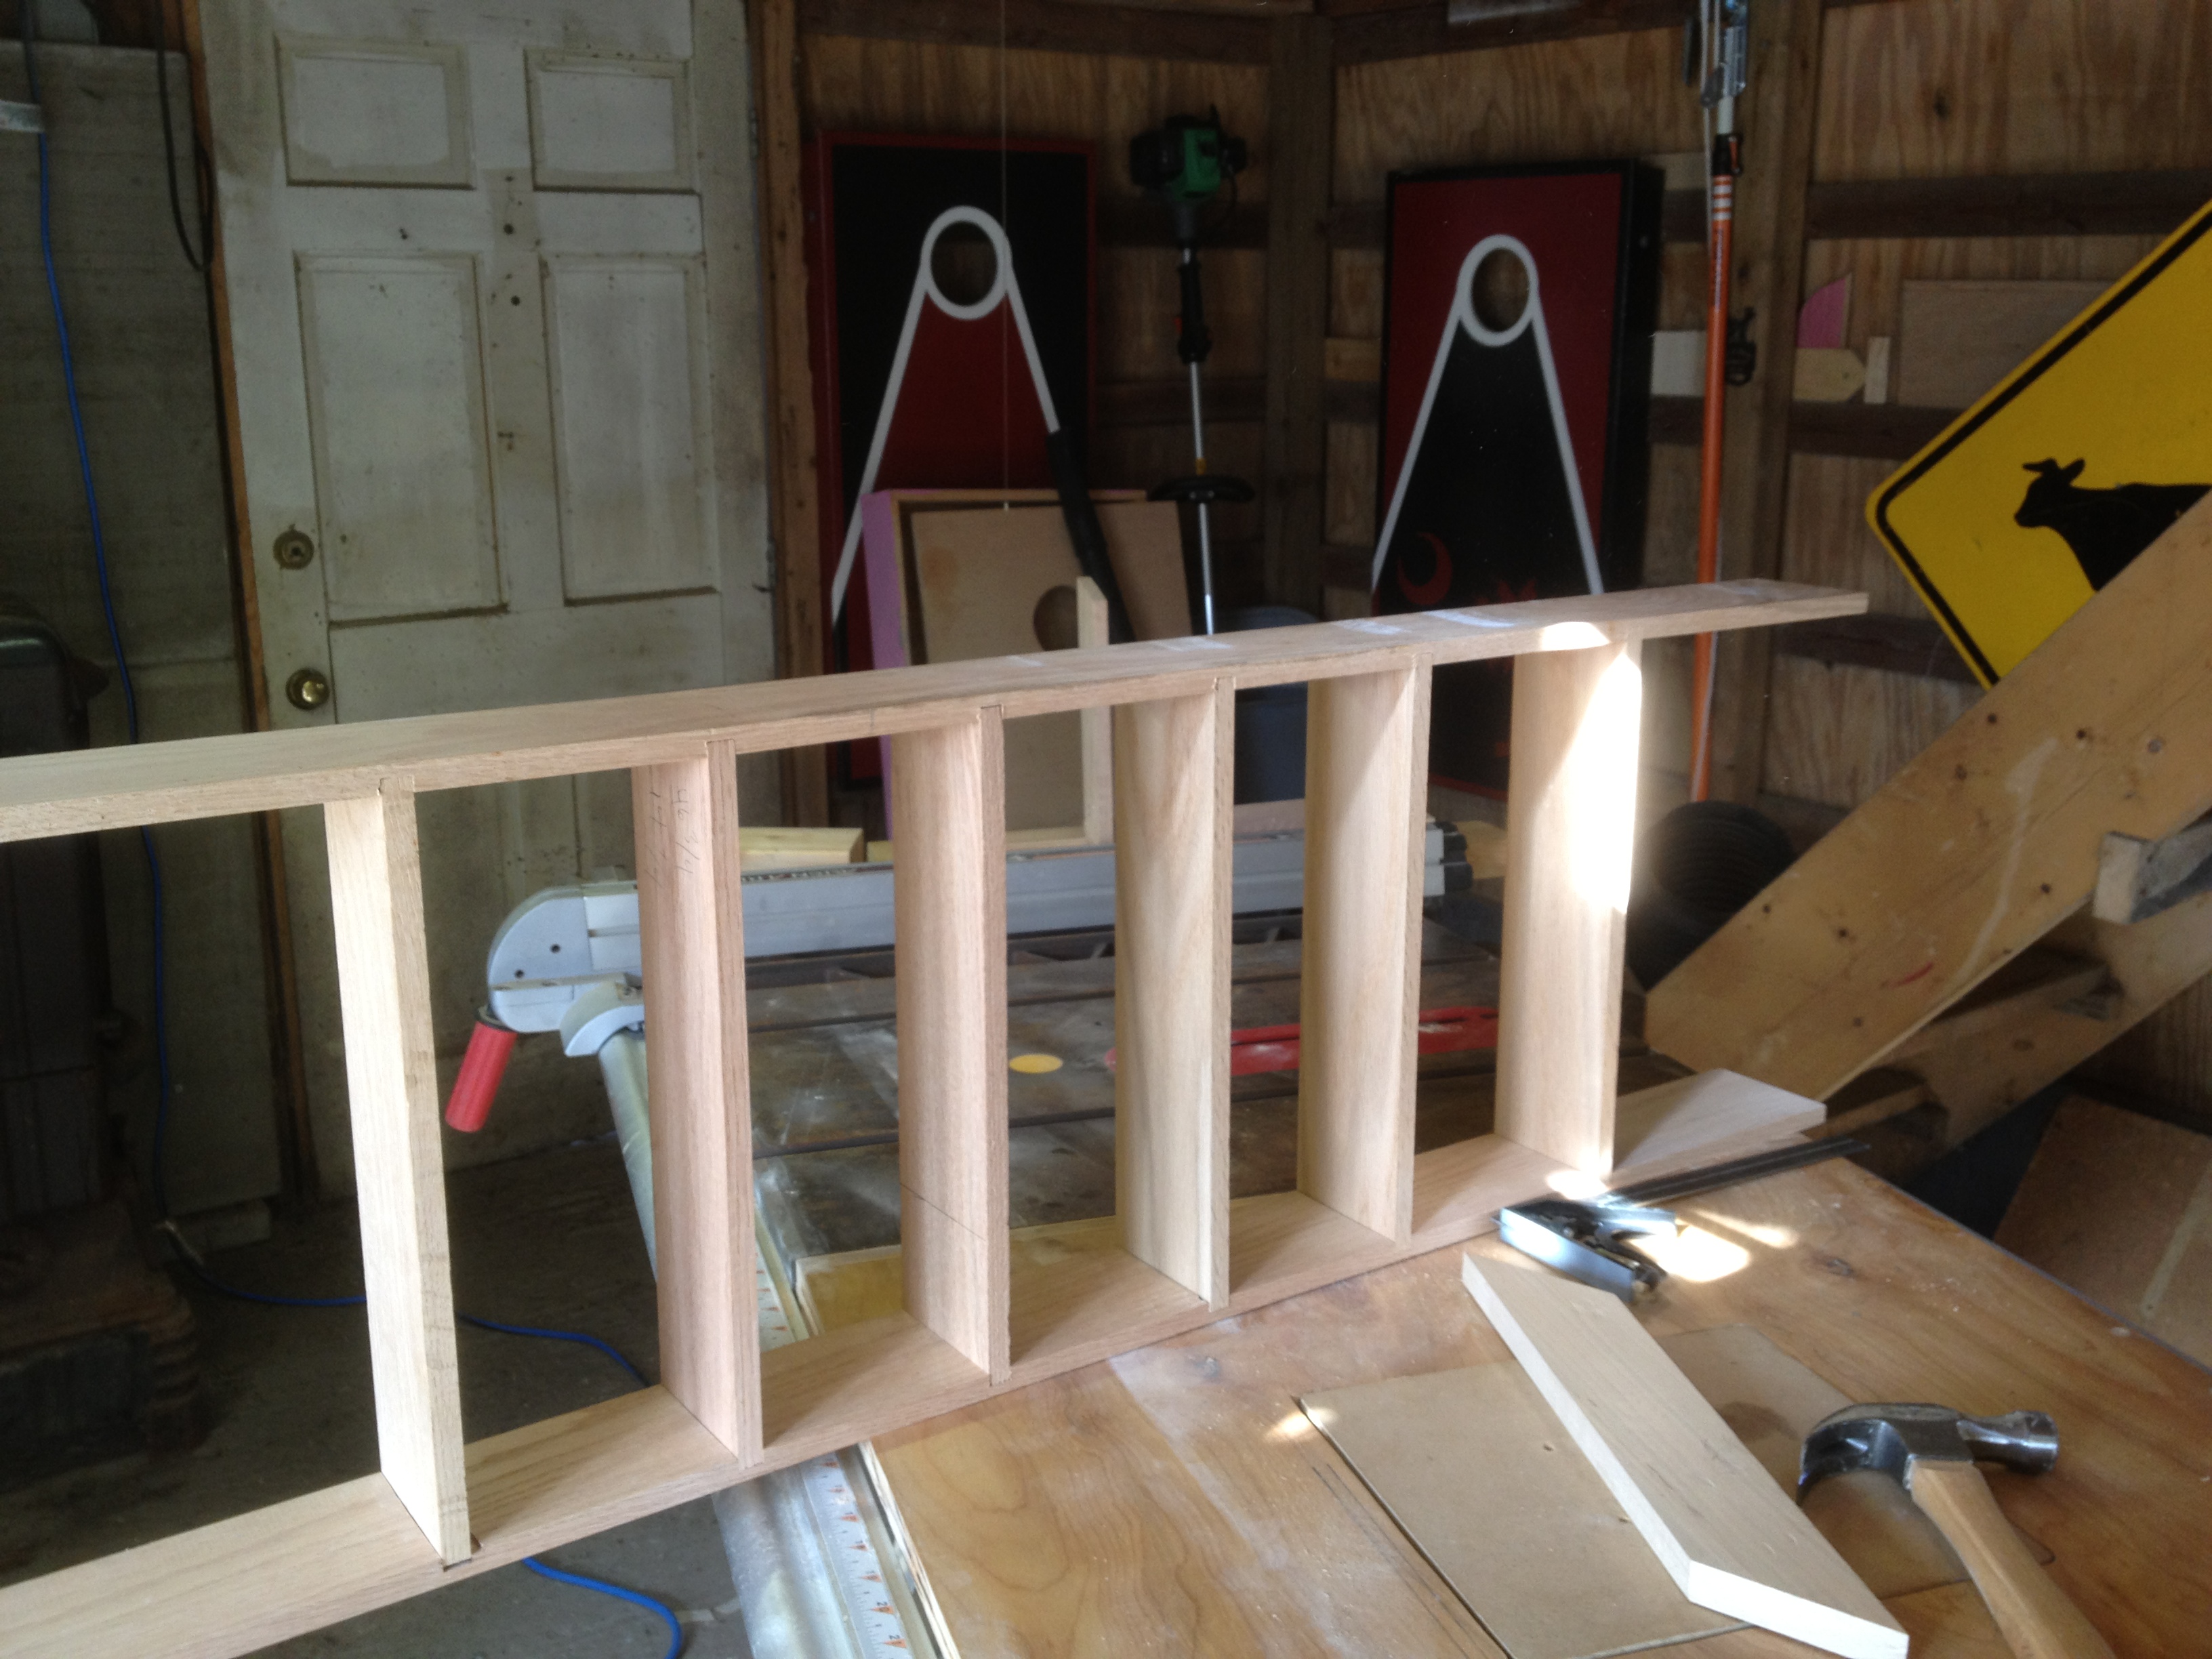 Another quick dry fit in the wall cavity shows me that I about a saw-tooth width to wide. Back at the RAS to take off about an 1/8″ from the top,bottom and each shelve
This is where it ceases to be fun, sanding, I hate it. Although I did find something I hate worse during this project…sanding moulding!  Anyway another tip from the internet (or perhaps it was Shop Notes, either way…) was to make some pencil marks on the surface to be sanded, once they have been removed it is time to move to the next grit. I started at 180 then 220 and finished with 320, that is more than enough for my needs, thankfully I need only sand one side of the sides, top and bottom. I don’t have a proper work-table so I had to improvise to make some stops atop my router table, this allowed me to lay two of the shelves end to end and sand both at once. I do have a random oribit sander but as I wanted to keep the sharp edges on all my pieces I opted, instead, to use a sanding block.
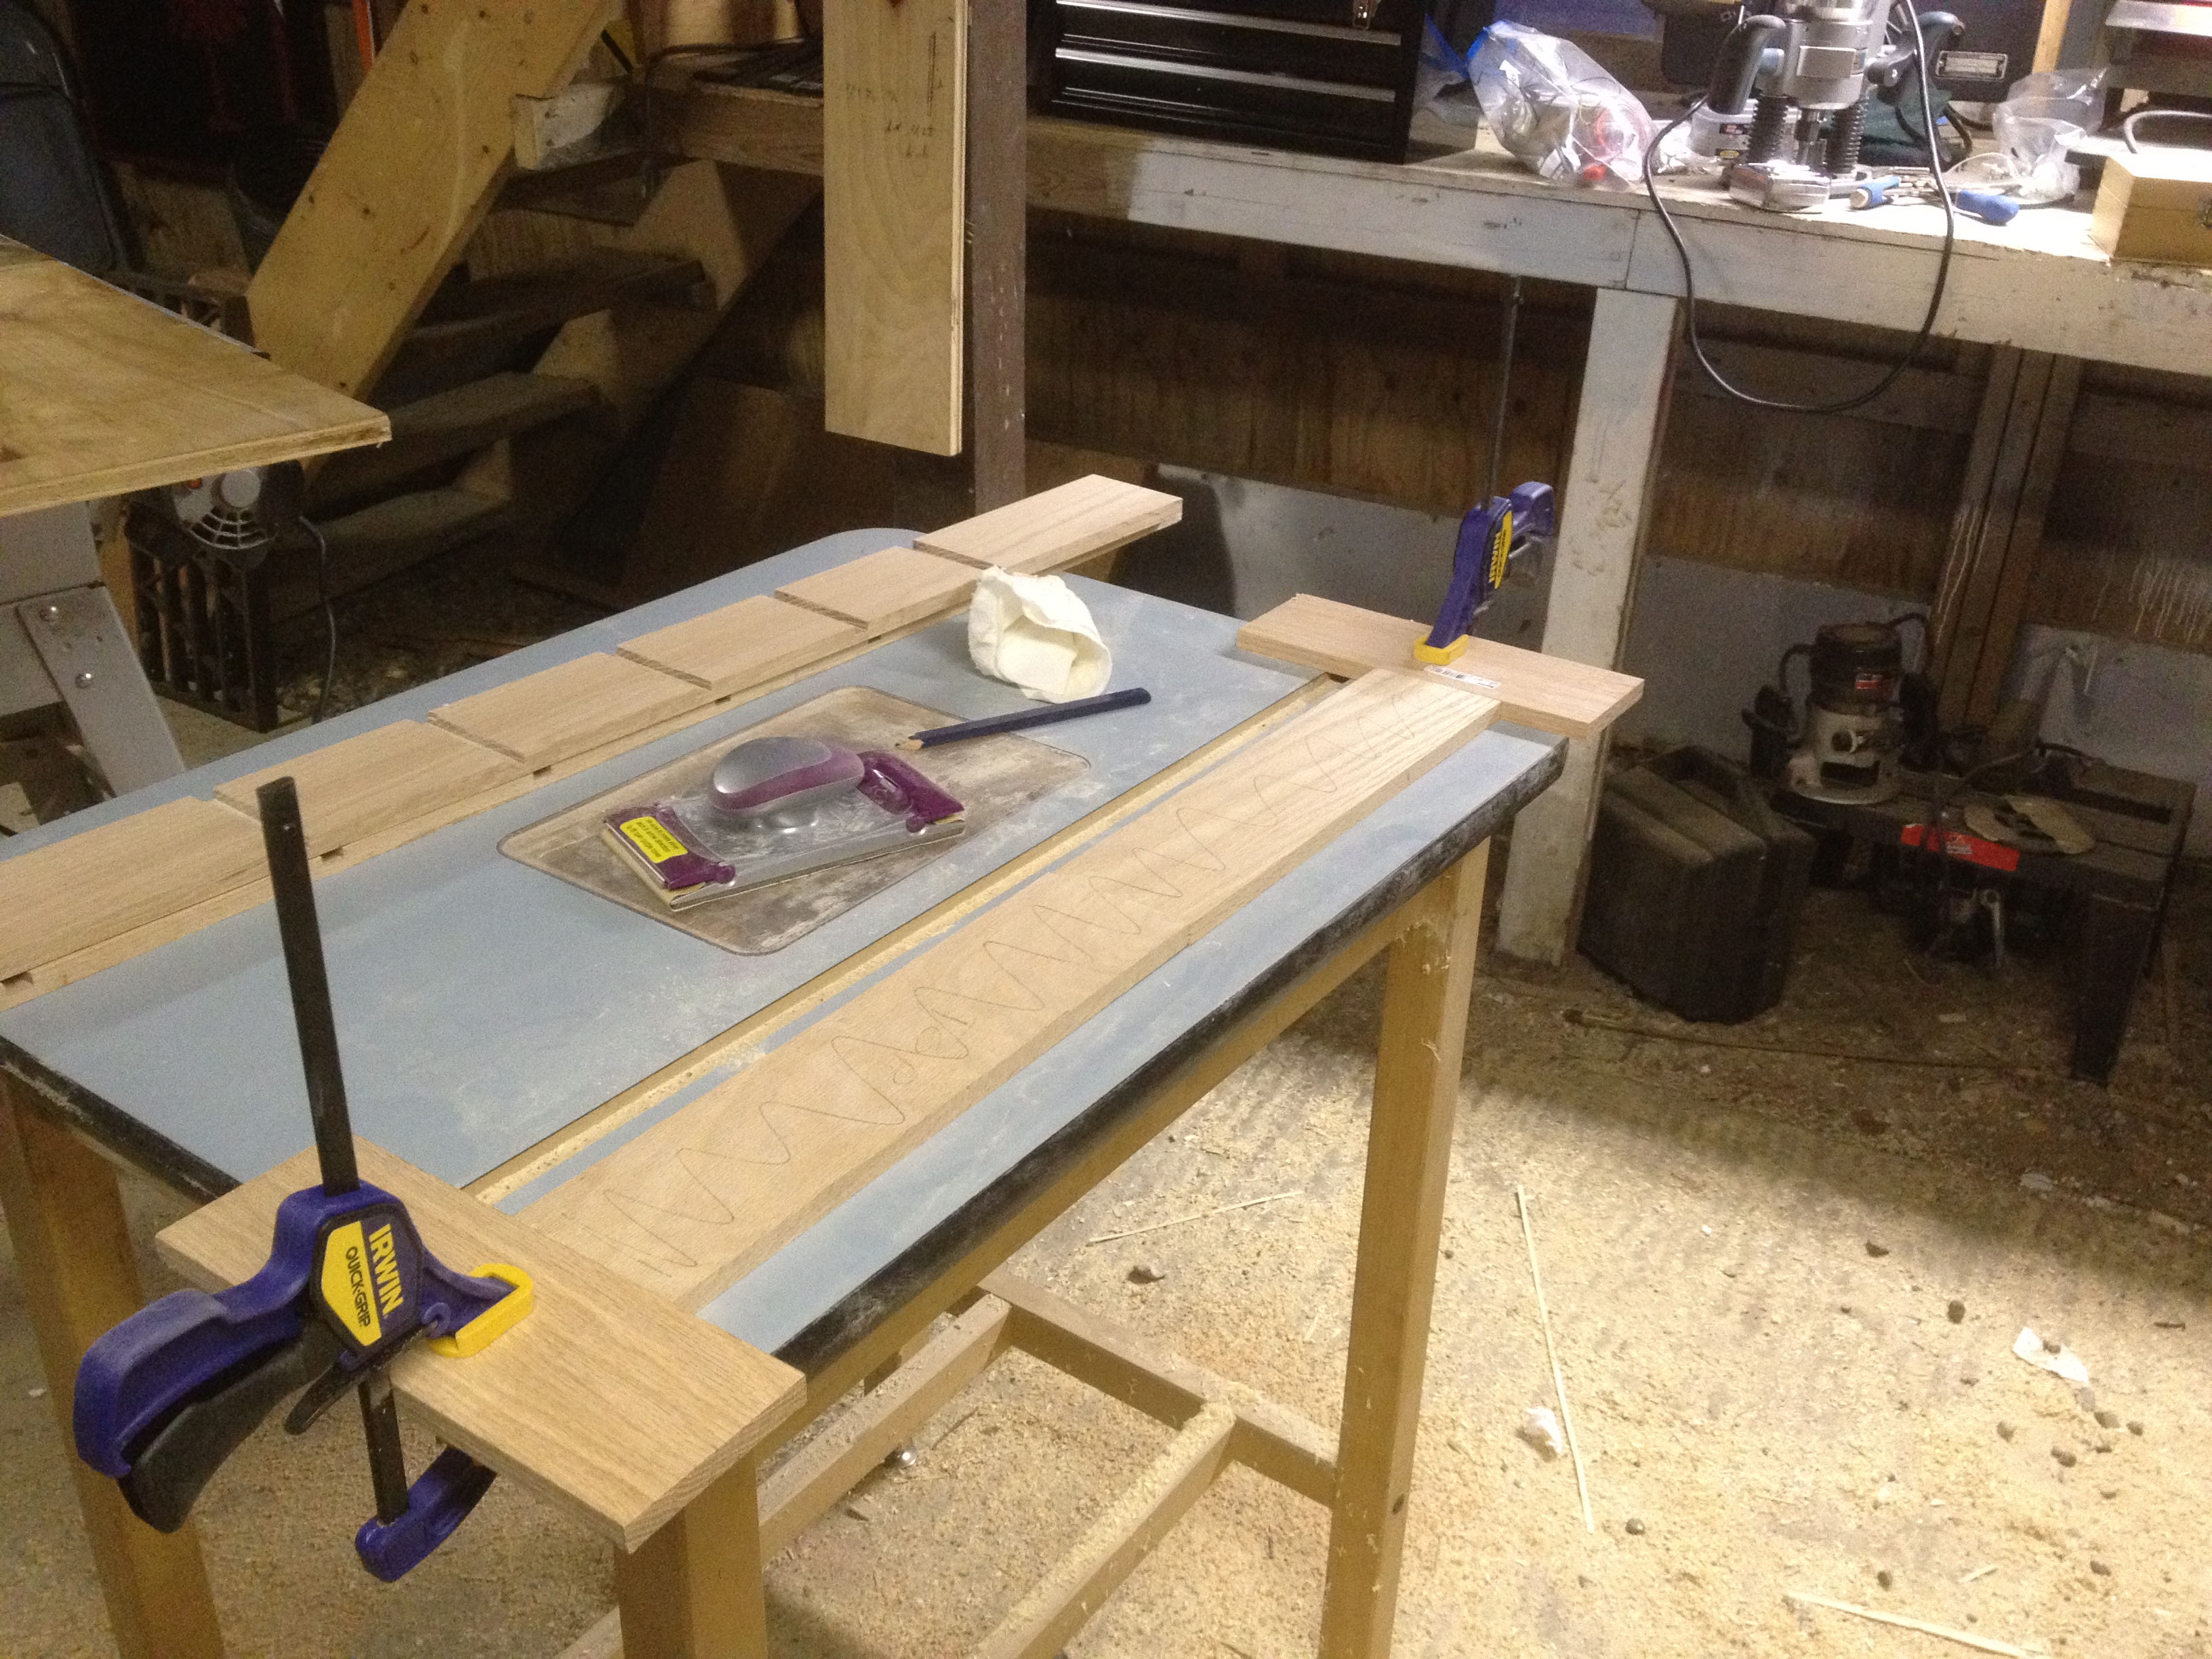
The sanding, as you can imagine, made the shelves a little slimmer and all but one of them now fit nicely into the dadoes. Pocket-screws (on the outside of course) were used to connect one side to the top and bottom pieces. During sanding I put an X on the unsanded side of the top/bottom pieces to ensure that I put the proper side “up”, well as you might have guessed initially I screwed them both in upside down. Easy fix.
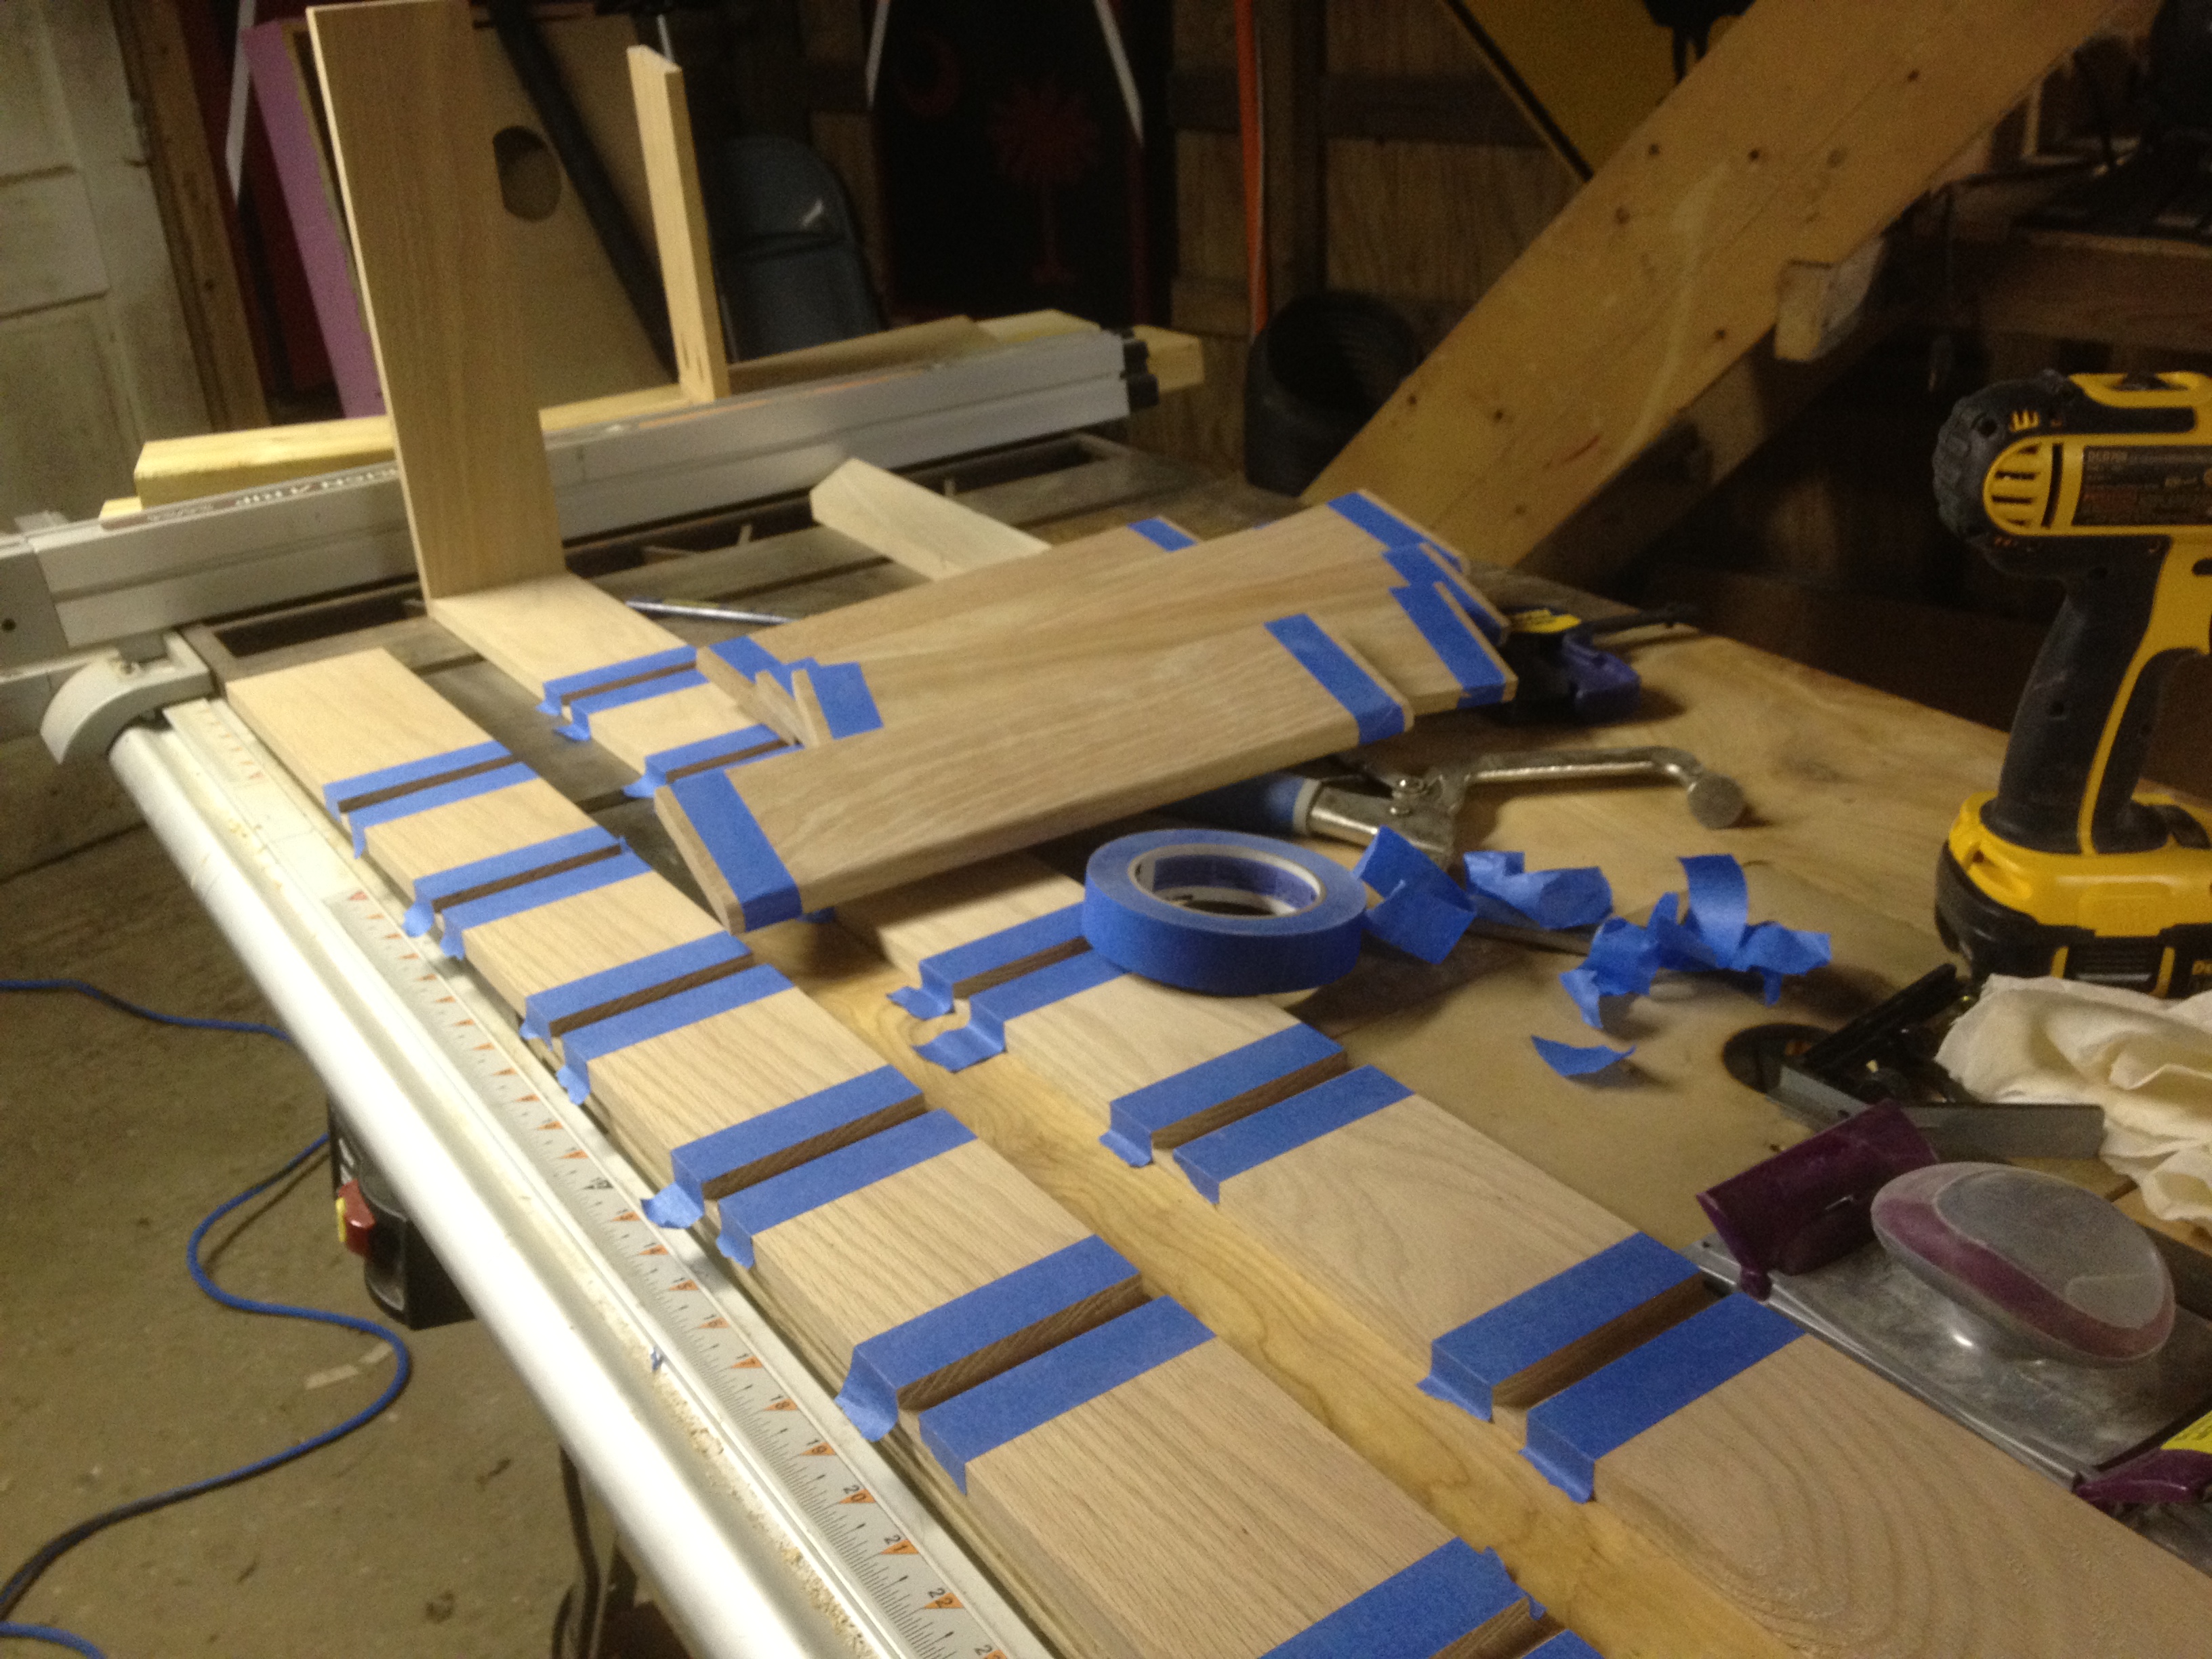 I employed some blue tape to, seemingly, eliminate any issues from squeeze out. In the end, because I used a small brush and a thin coat of glue, there wasn’t any squeeze out of note AND the tape was a real pain in the ass to get off. Really I should have just skipped the glue altogether.
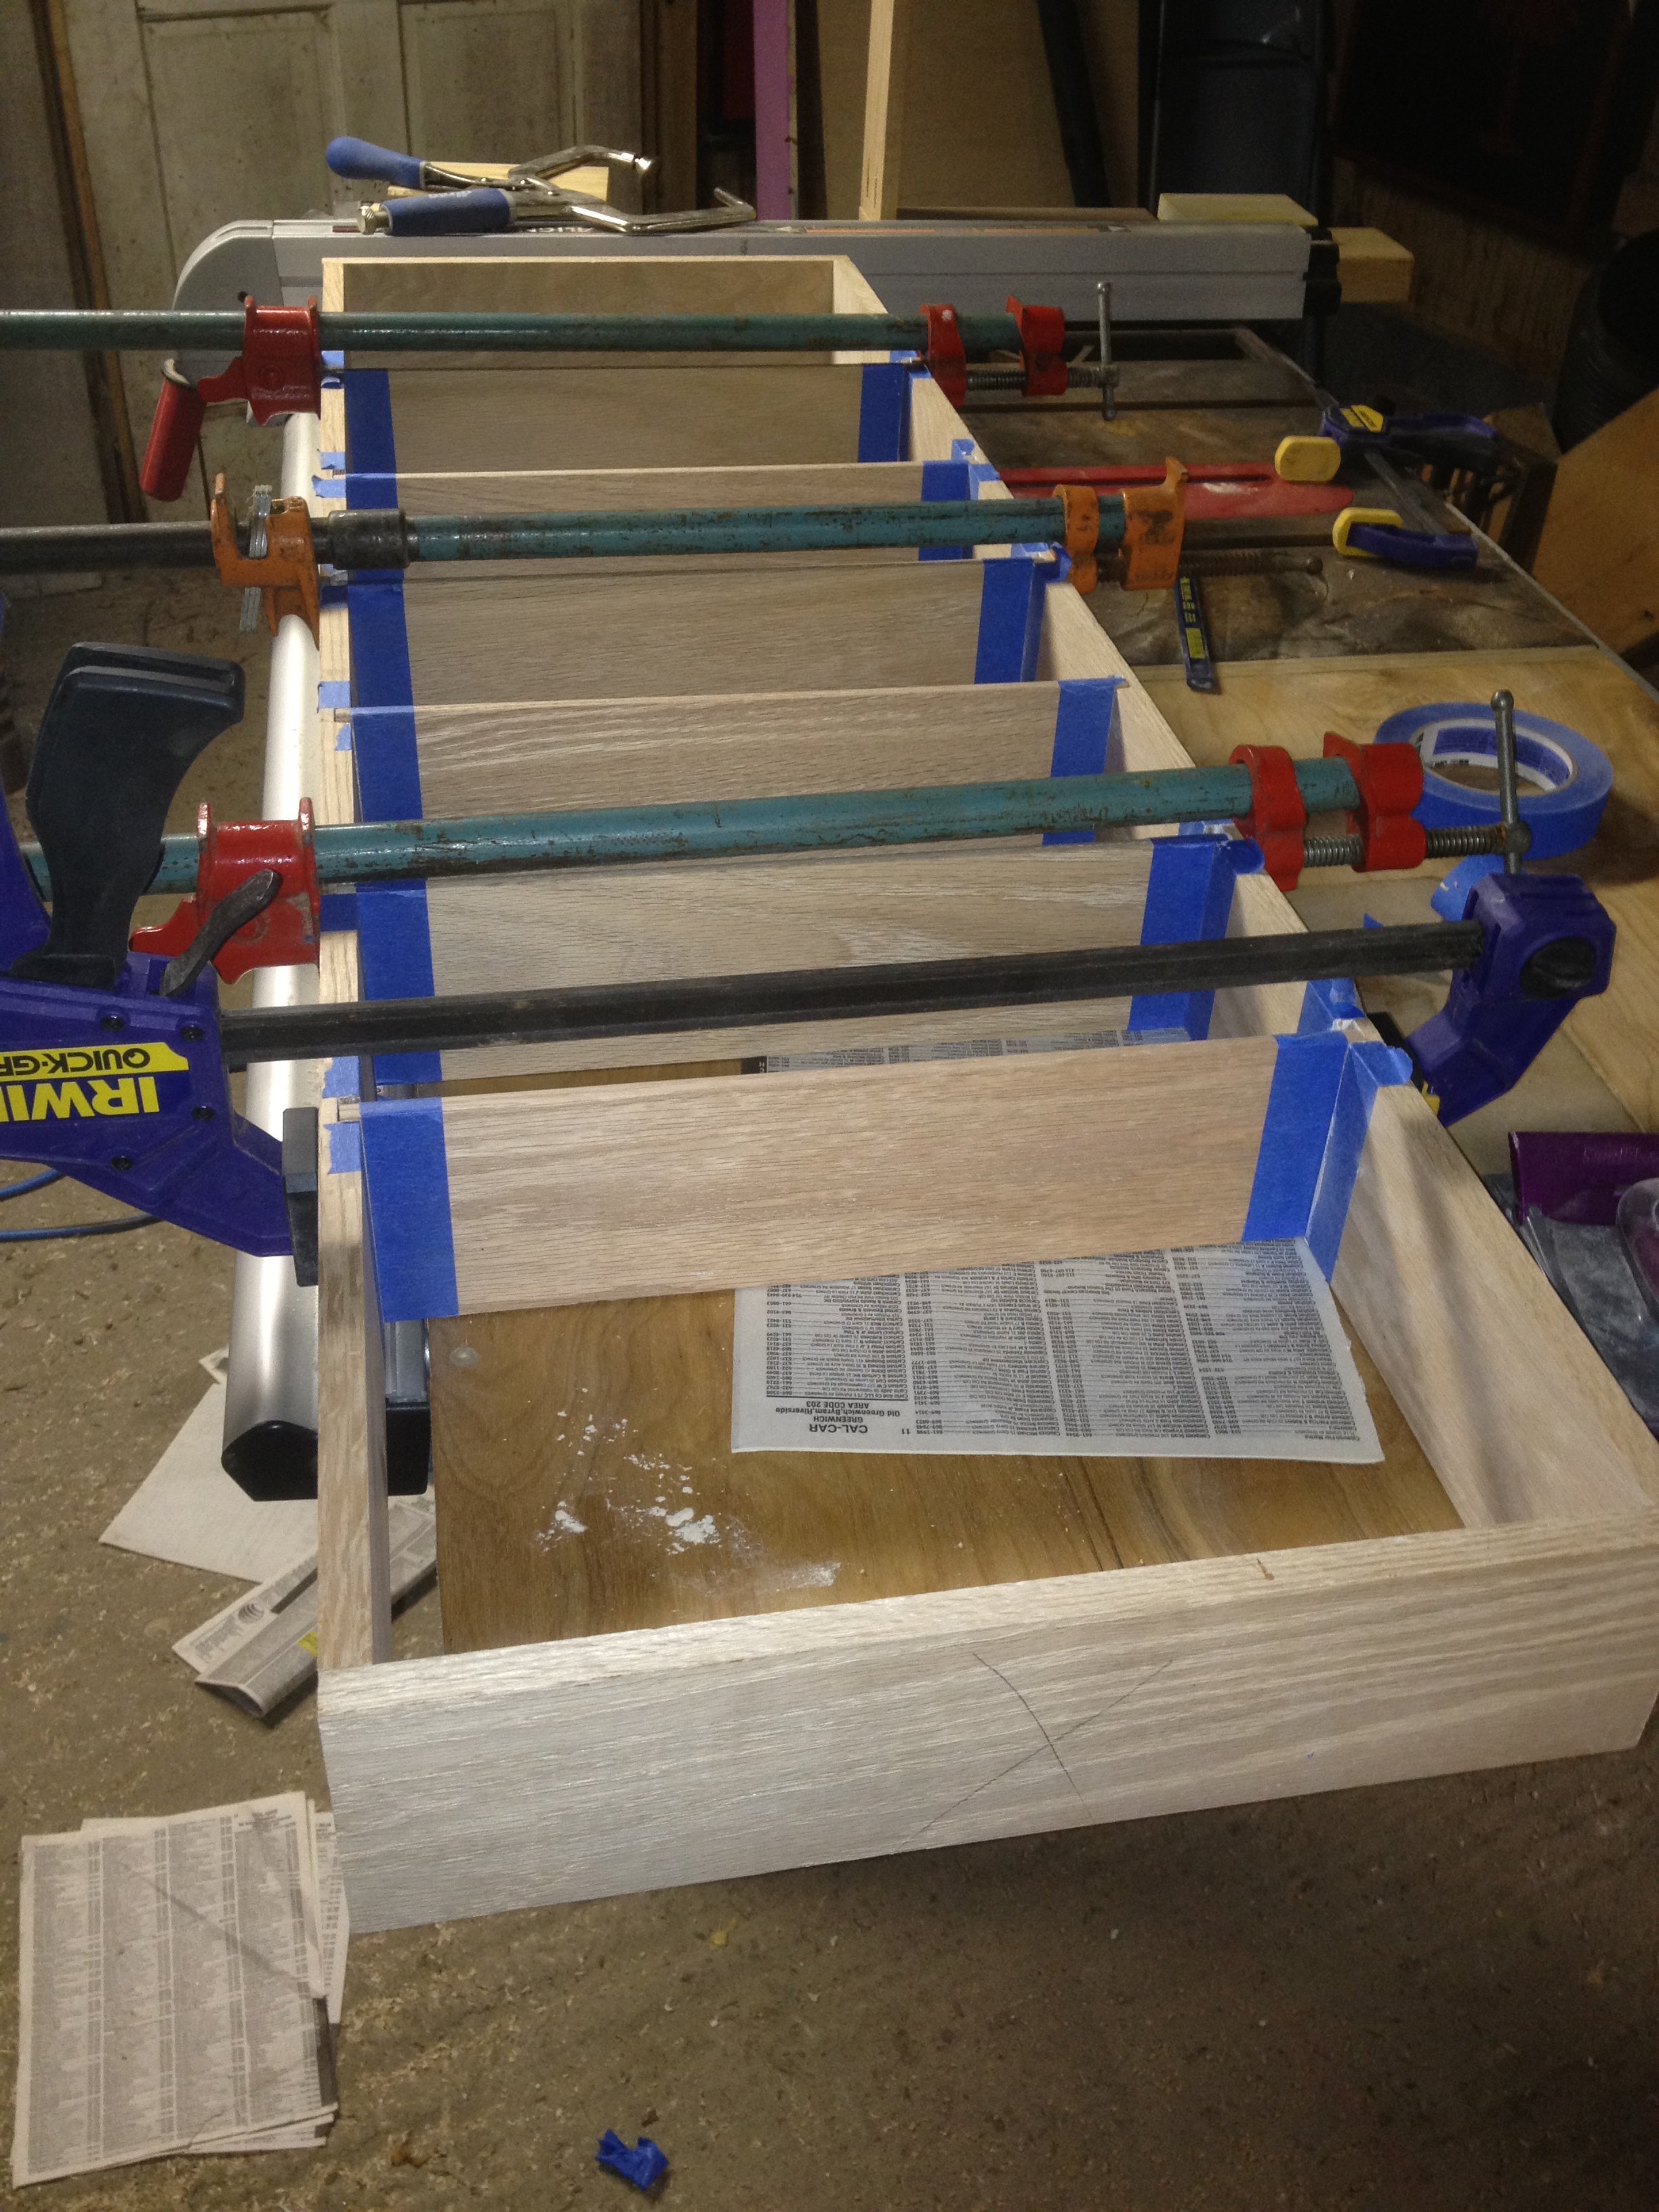 With the shelves in place just add clamps. Once again proving that you can never have enough clamps…I could have used about 8-10 more. Again it wasn’t a big deal for this project as the glue is pretty much superfluous as the case is secured with pocket screws.
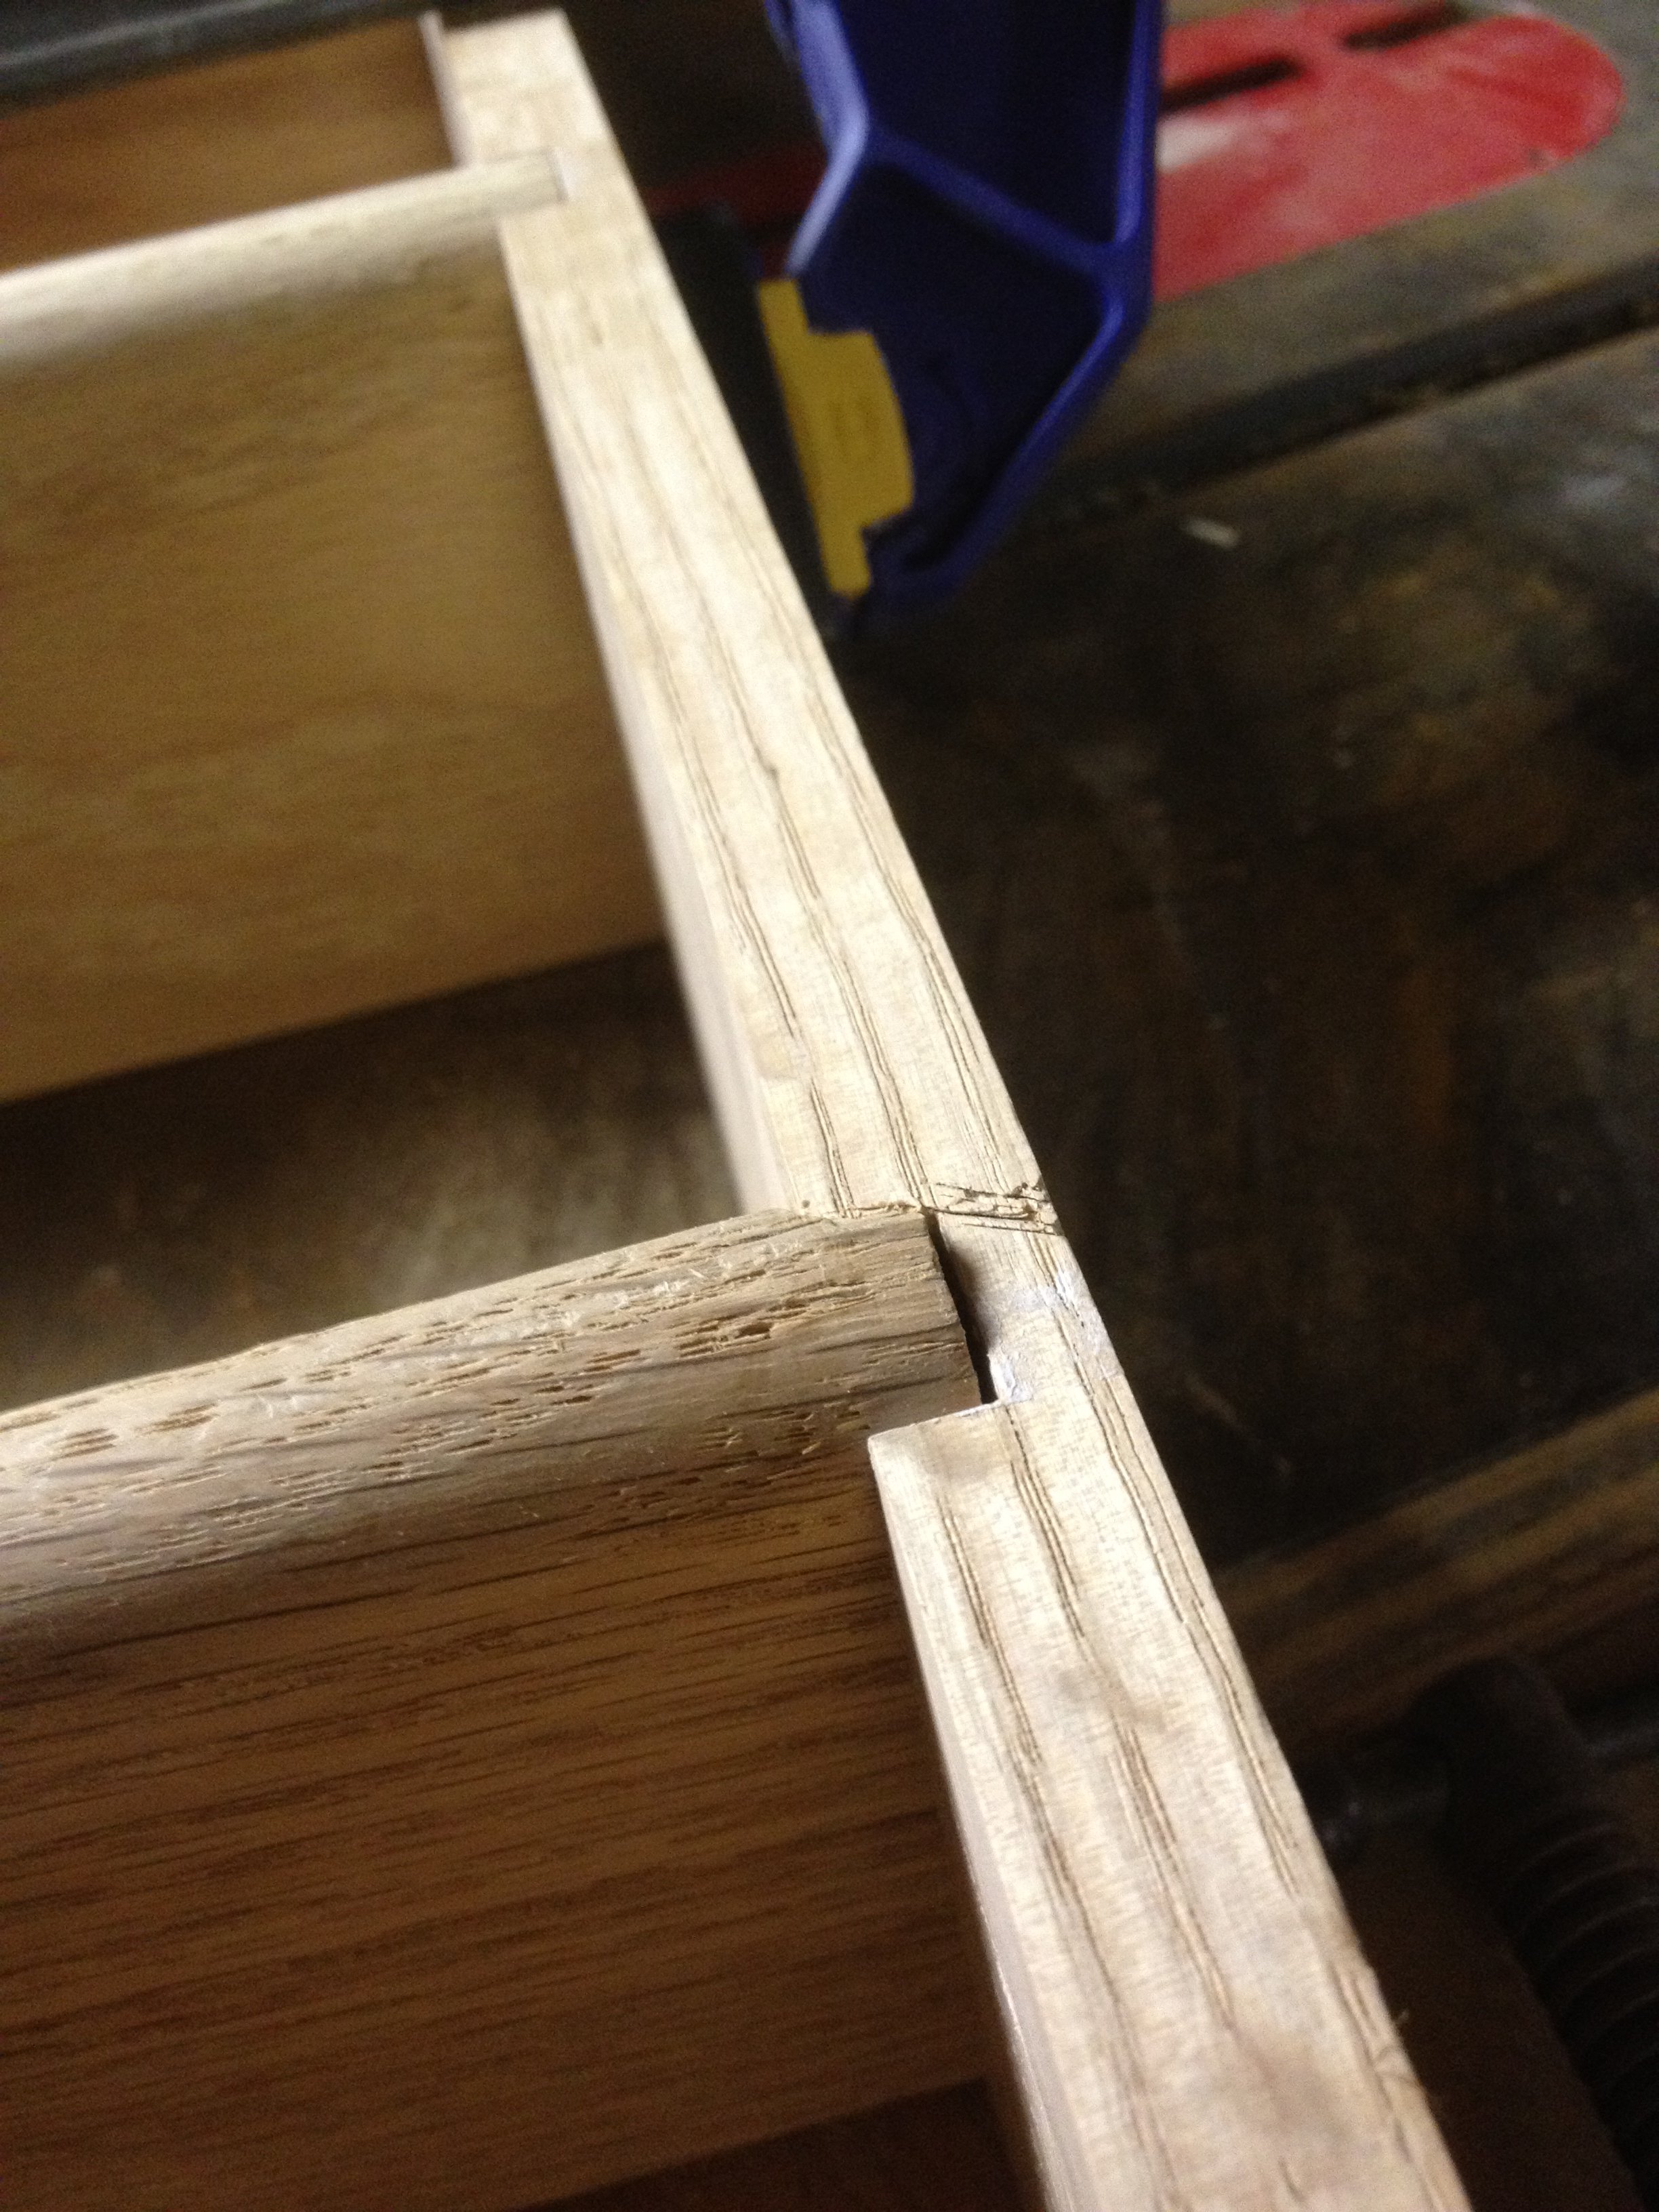 Did my best to center the shelves in the dadoes so that there was no overhang front nor back which would interfere with the moulding and backing respectively. Unfortunately, I blame that one obstinate shelf, there were a couple of pieces with pretty significant overhang in the front, which, in hindsight, is better than the back. A chisel and a hammer made short work of the issue, however, and also would provide a nice little stop for the moulding, again it could have been worse.
 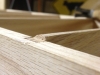 Another tip here, don’t pry the chisel up after making the horizontal cut, you just might split off a piece of the shelf. I cracked a piece but luckily it didn’t break off completely a little touch of glue and no one will ever know. Left it to dry overnight.
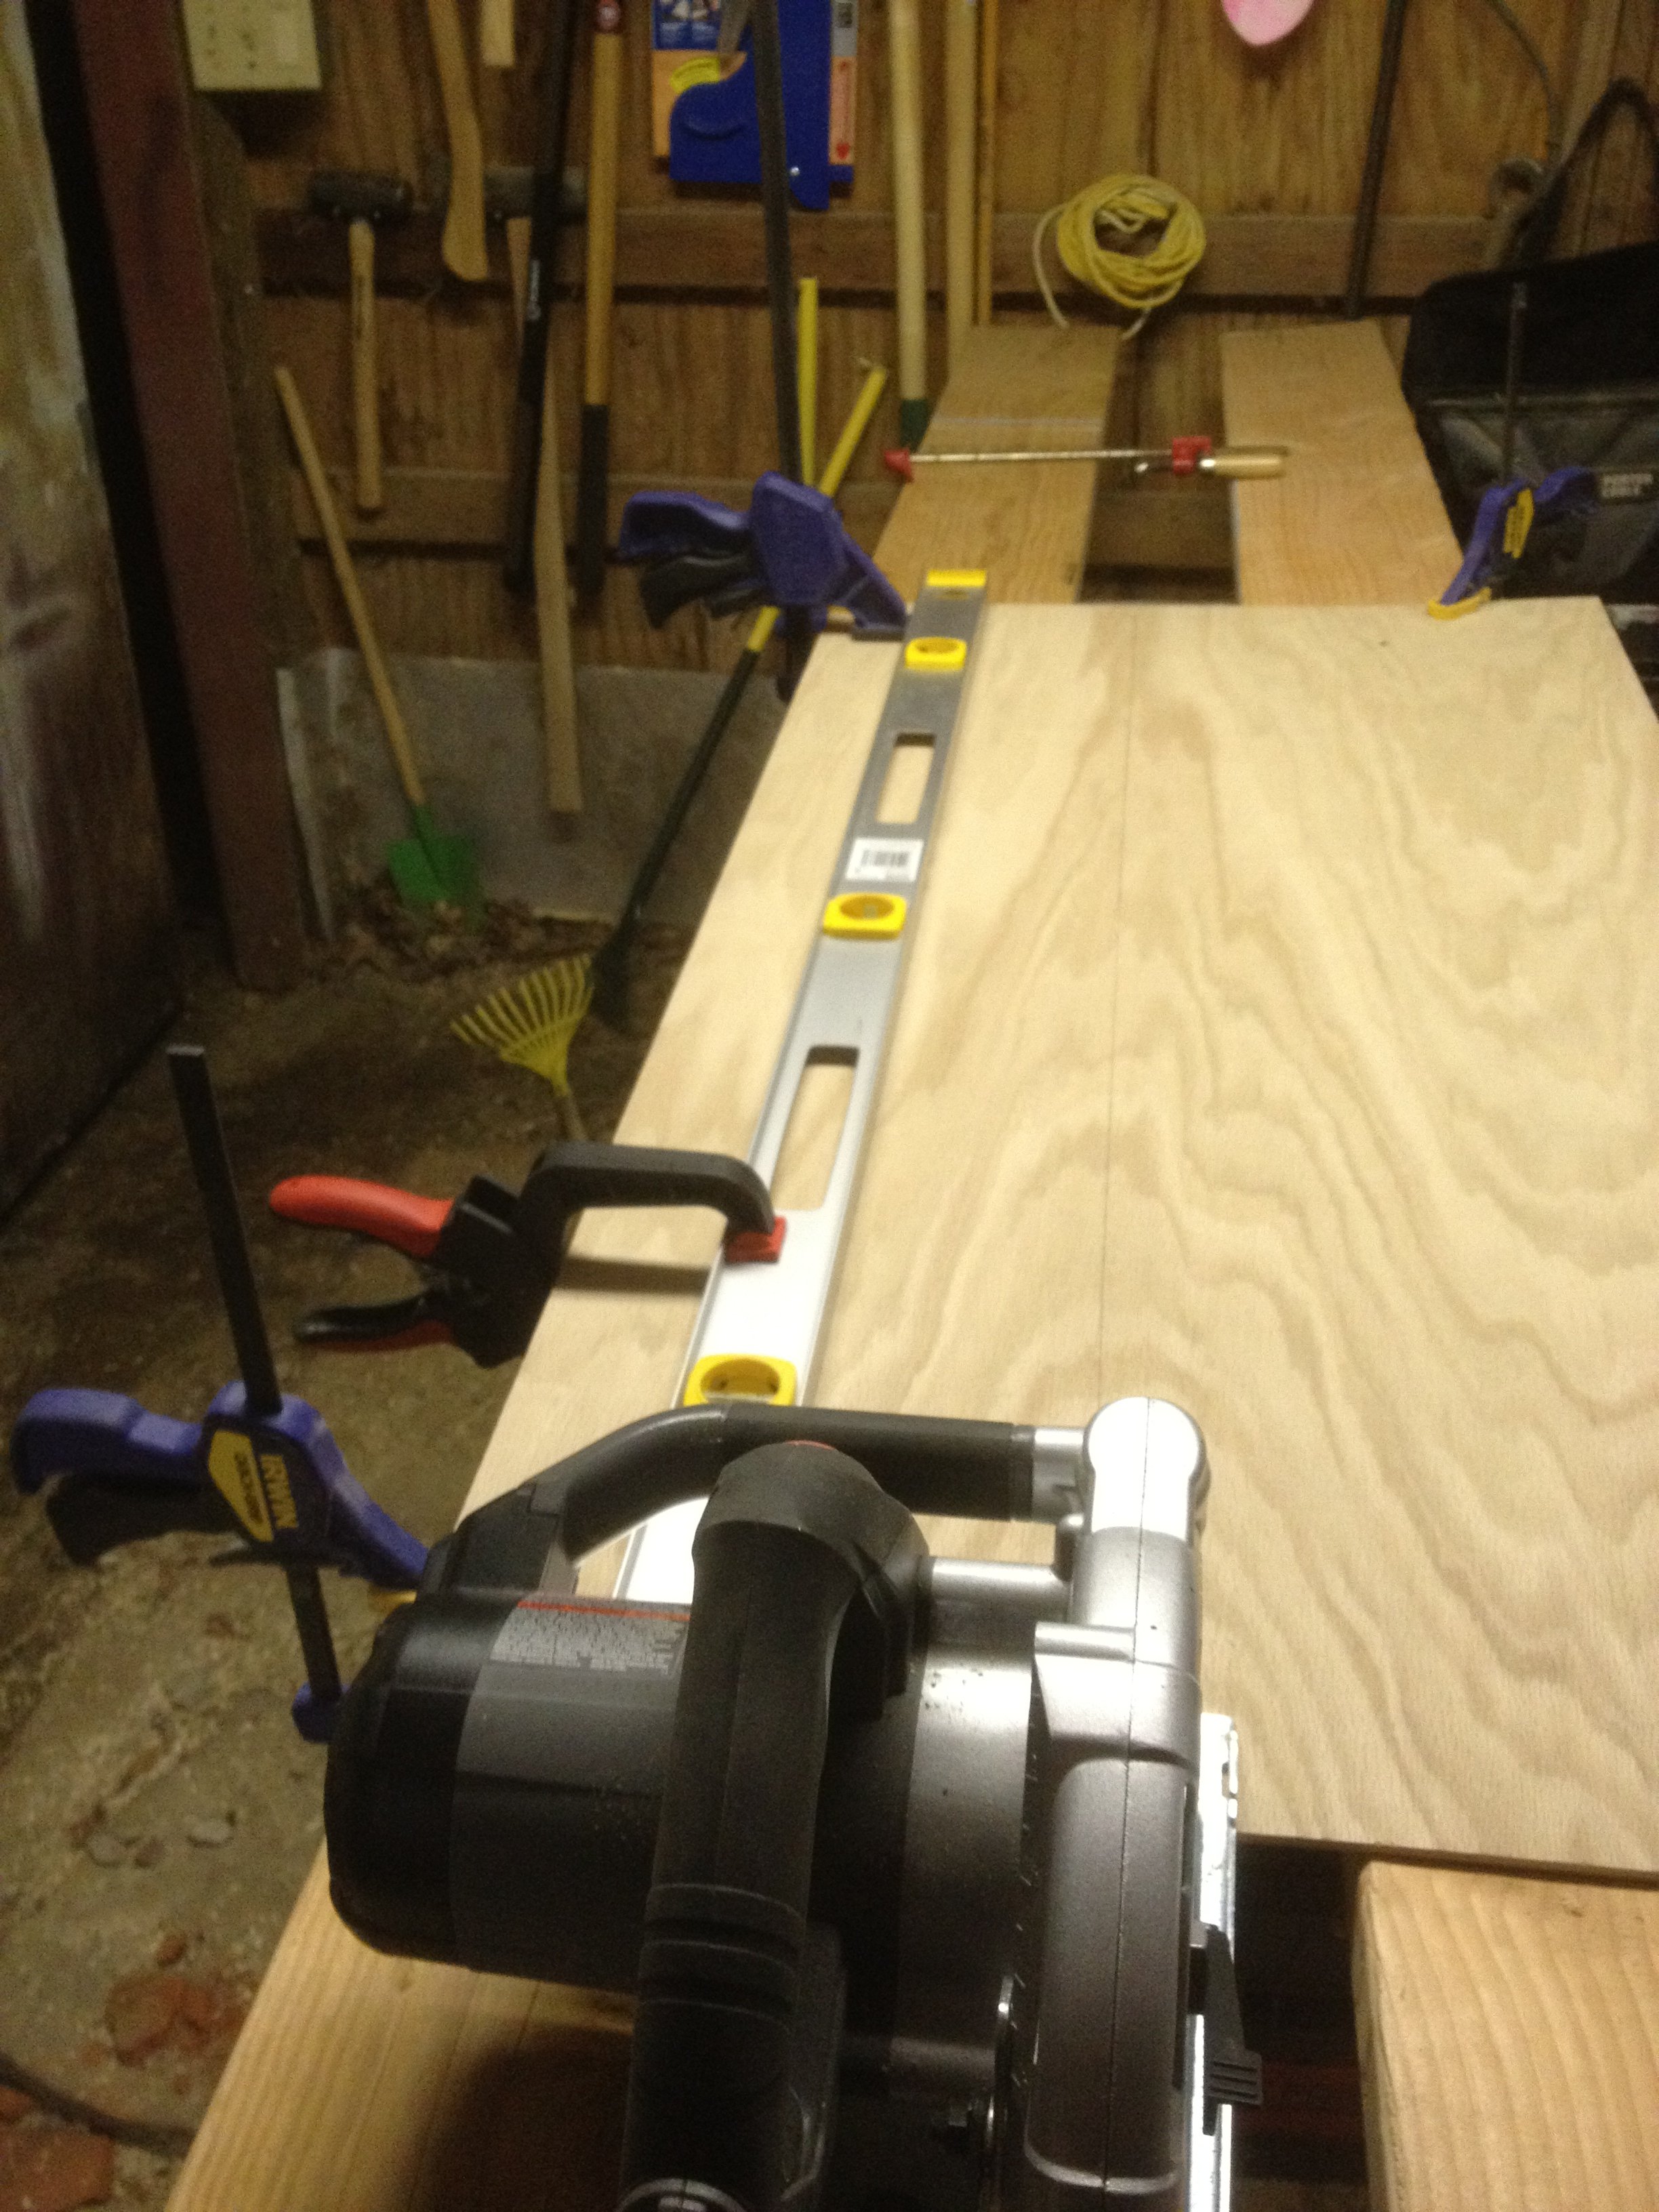 I don’t even want to talk about how long it took me to set-up for this cut. It was at least an hour, but that includes setting up the saw horses as well as the straight edge and a trip into the house for a beer. I didn’t use the tablesaw for several reasons, lack of a plywood blade, zero clearance plate, splitter and out-feed table. In the end using the circular saw and a straight-edge worked out pretty well.
  Rather than measure, mainly b/c I left the tape in the house during said beer run, I put the shelf unit on the sheet, centered to get the best grain pattern, clamped it down, and marked the cuts.
A little glue and some screws should hold the backing in place. Proving once again that you never have enough clamps, however, thankfully I was able utilize some wood screws to make up for it. Of course I pre-drilled the holes, and tested in some scrap wood, to ensure that I wouldn’t split the edge pieces. Clamped and left to dry overnight.
According to the wisdom of the internet I was going to have a tough time working these miters on the Radial Arm Saw, well if I do say so myself they came out pretty nicely. They are far from perfect but for a first attempt I am satisfied with the results, although the 2 best fitting corners are in the least visible spots, go figure. I wanted to avoid using finishing nails to secure the moulding as I am confident that I would have managed to dent the moulding in the process. So I used painters tape to act as mini clamps as the glue dries. The clamps wouldn’t really work here and besides, as you may know by now, I don’t have enough. I did a dry assembly first and got all the corners lined up as best as possible, taped them all down lightly (2-3 pieces per) then removed, glued and heavily taped each piece one by one. Worked out pretty well so far, will be interesting to see how long it holds….


A final dry fit confirms that the moulding will indeed cover up my drywall hack job, sweet! 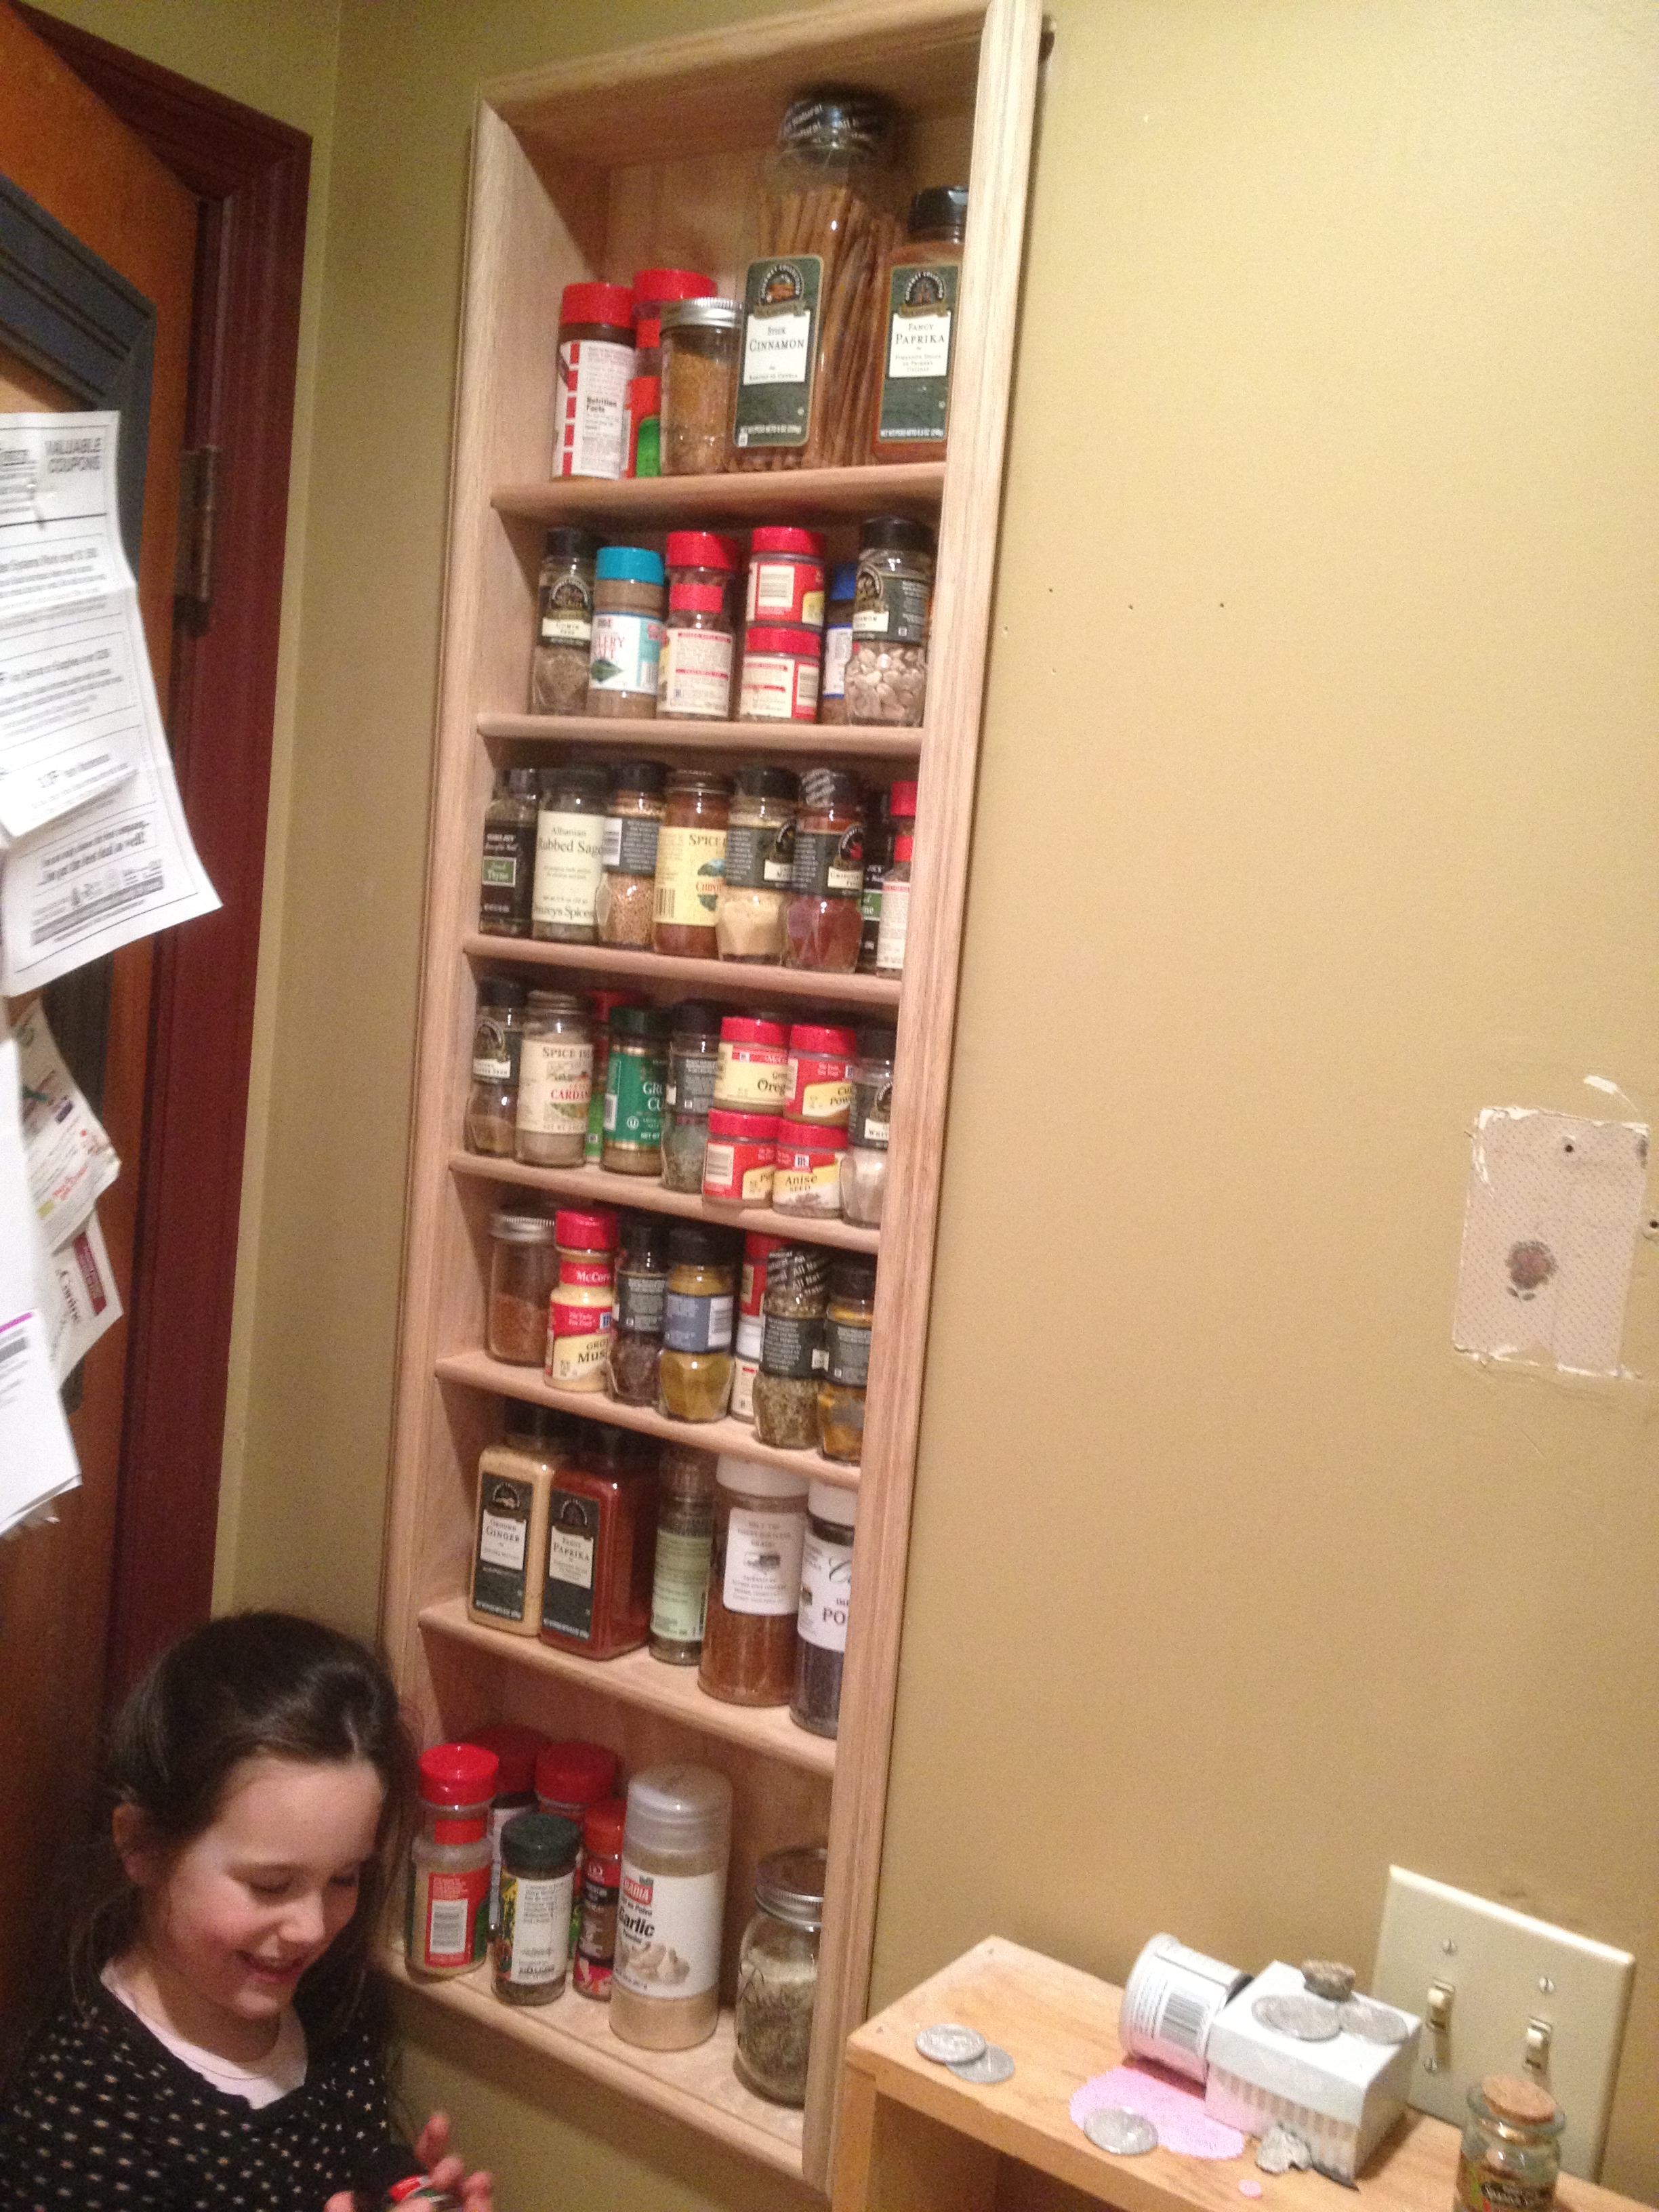 Due to the aforementioned forward slant of the cross support you can see the shelf leaning out a bit, that will be easy enough to remedy with some mounting screws and perhaps some shims…although with the moulding already in place it will be interesting to see exactly how/if that will work…
 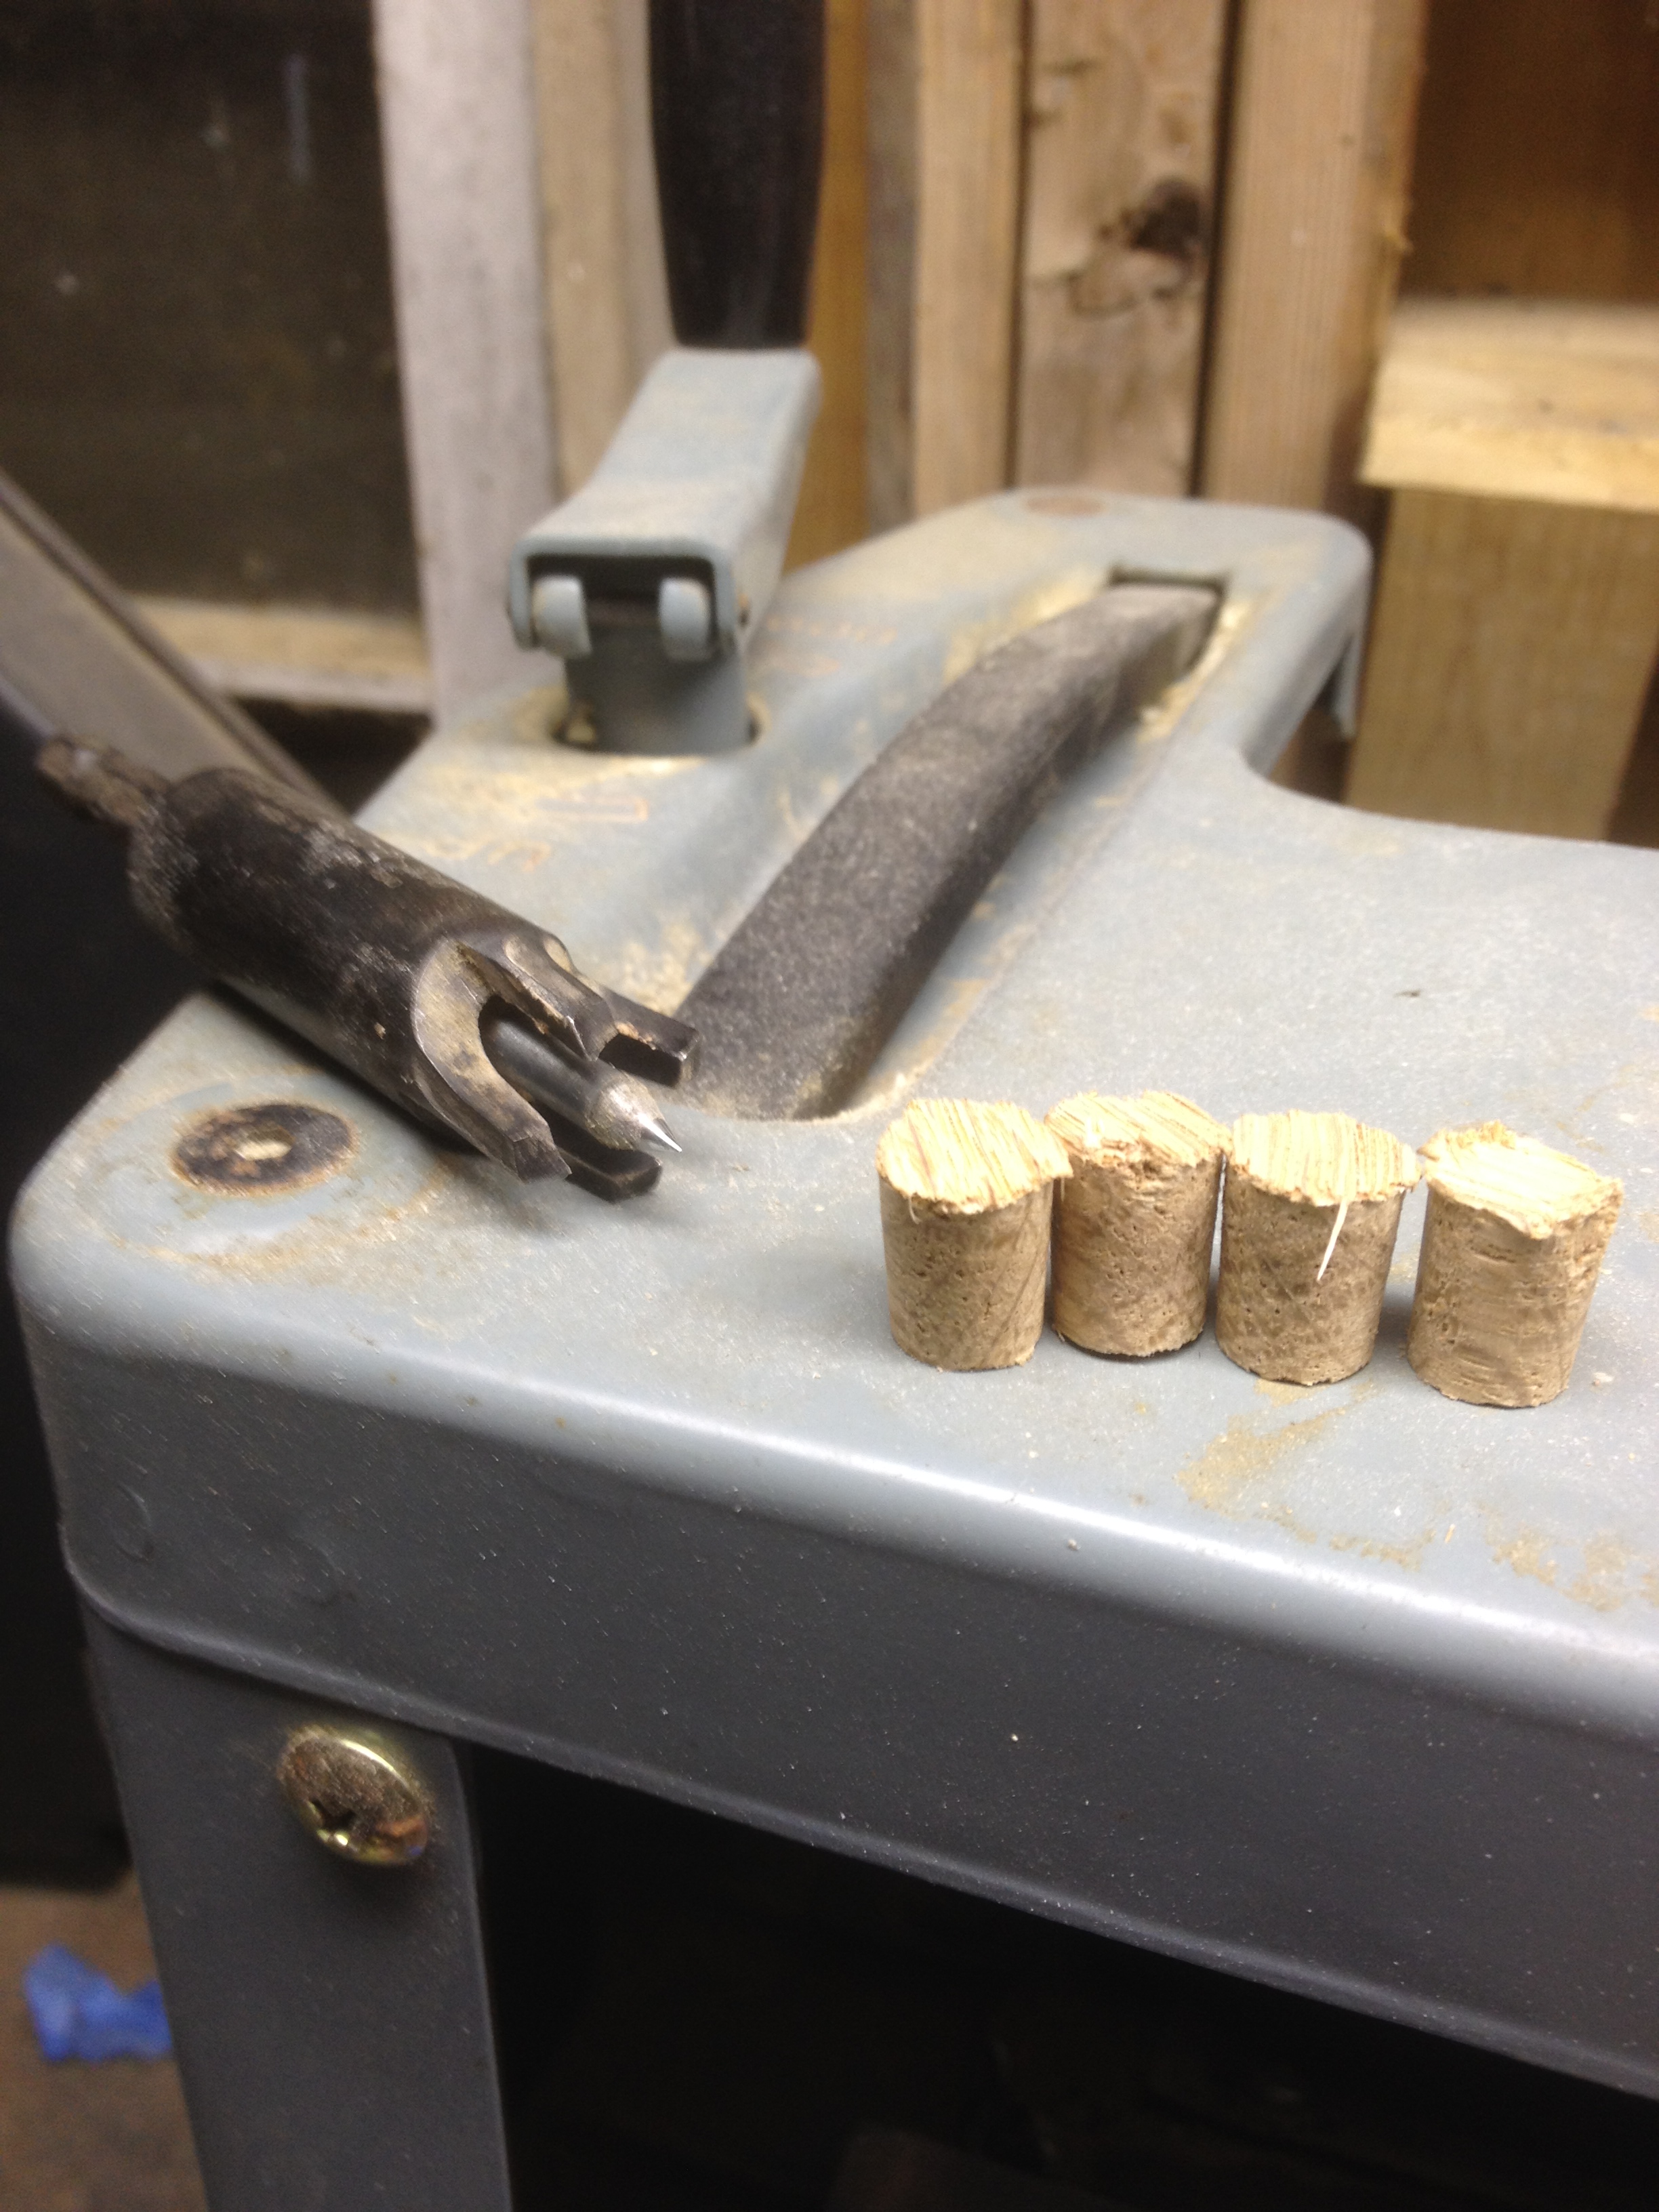 I intend to secure the shelves to the studs using 1.25″ #8 wood screws 2 on each side of the top and one per side near the bottom. What I don’t want to have are exposed screw heads, so after some thought the last couple of days I settled on using a 3/8″ fostner bit to bore out a 1/4″ hole to seat each screw. I also made a 4th or 5th trip to the hardware store to get a 3/8″ plug cutting bit.
  Using the plug cutter and one of the cut-off pieces, I made 8 oak plugs. 2 of which I used to test my approach on some scrap. It was at this point that I realized I had a bit of a problem.
I really want to apply the finish in the shop prior to mounting. However, if I do that then I will have some issues/concerns when putting in the plugs which will need to be flush cut, and sanded AFTER mounting as I will surely screw up the finish in the process. Another option would be to mount the shelves unfinished, sort out the plugs and then apply the finish, don’t think the family will approve of dealing with the fumes in the kitchen.
According to some nice folks on the internet my chosen finish (Danish Oil) is very easy to touch up so I am going with option #1, it should be interesting. With that decided the only thing left to do is apply the finish. 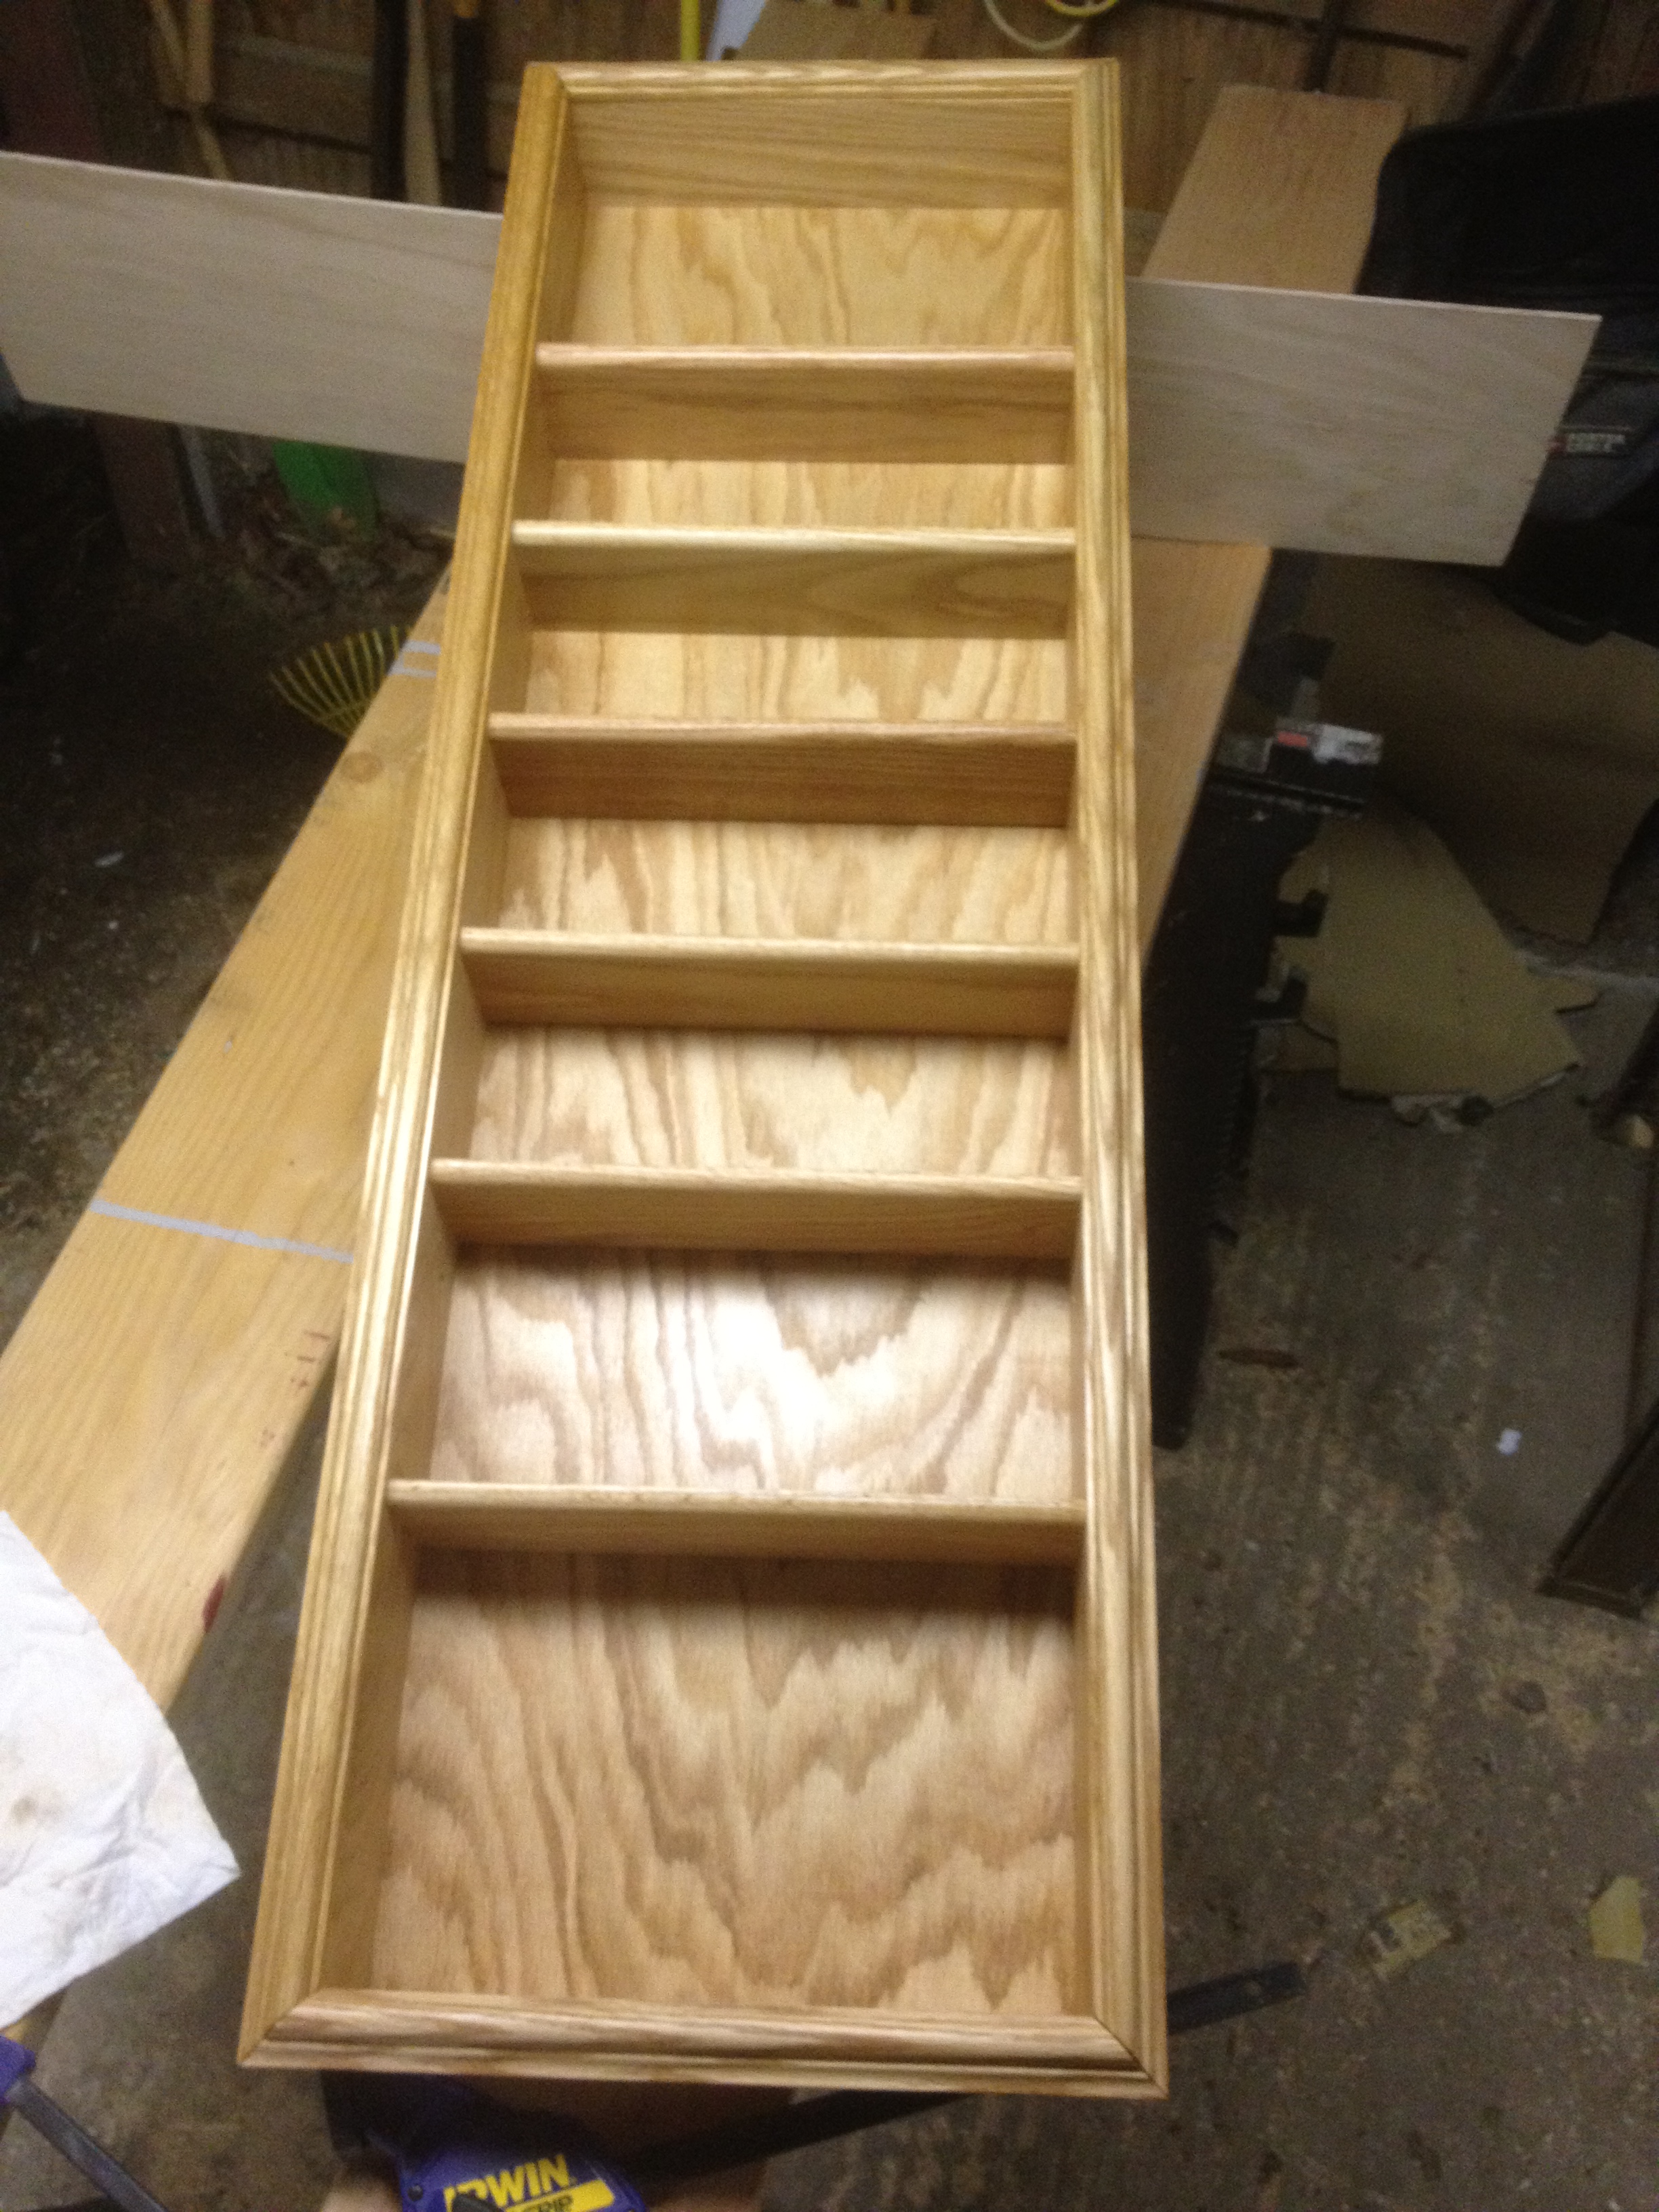 I chose Danish Oil because it is fairly durable (according to the internet) but mostly because the application is a no brainer, just wipe it on fairly liberally with a cotton rag, let it sit 30 minutes, wipe on another coat, let it sit 15 minutes and wipe off the excess. You can’t see it in this picture but I noticed another screw up after I stood back to admire the finished piece. The backing board grain is flowing down, by design, but the grain on left framing piece is flowing up wards rather than down, now I had specifically picked that piece to be on the left side for the nice figure and a nice swirl/knot pattern that should have been in the top left corner with the grain flowing downward. But when I put in the shelving I failed to double check the orientation of that piece and missed the mark. In this case it isn’t very much of a difference aesthetically, no one will ever notice, especially when it is full of spices, but it does remind me to take it slow and double check things before getting out the glue.
Finish product. I picked up one last tip on flush cutting the plugs, place a piece of paper under the saw blade, between it and the wood, to minimize the unintended scratches. Indeed re-applying the finish to the area around the plugs post sanding worked a treat, and there is no visible difference between these areas and the rest of the piece. Time for a beer.


